The 3D Comic
A very interesting Project
For this module, we were asked to produce 3-dimensional comics to present. The 3D aspect was that we had to make the comic itself a physical item that you would have to turn or move in order to read the comic. The other part of the prompt was that each of us were assigned a second or third year and had to collect the story the comic would be about from them and make the comic out of items or materials that fit the theme of their story in some way.
This project was initially going to be presented at an event so we were going to write descriptions of the stories alongside a lino print that fit with the comic. Although it won't be presented, it was still very interesting to work with Lino for the first time but I'll get to that in the appropriate section.

Stage 1: Gather the story
The first step of making the 3D comics was a challenge that had to do with reaching out to another person. We were assigned the people whom we needed to get stories from and had to figure out how to contact them. I was assigned a second-year called Tabby and was able to search for her social media. I contacted her via instagram, where I was also able to recognise her lovely work from the Christmas fair the second years held, and sent out an introduction. She was kind enough to not only tell me an anecdote but to also give me photo reference which was a huge help.
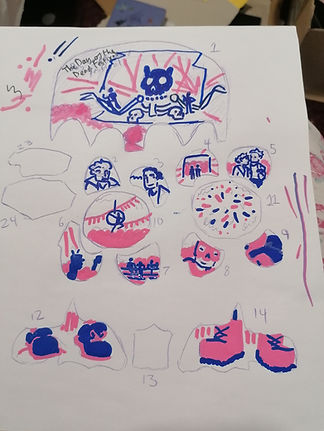
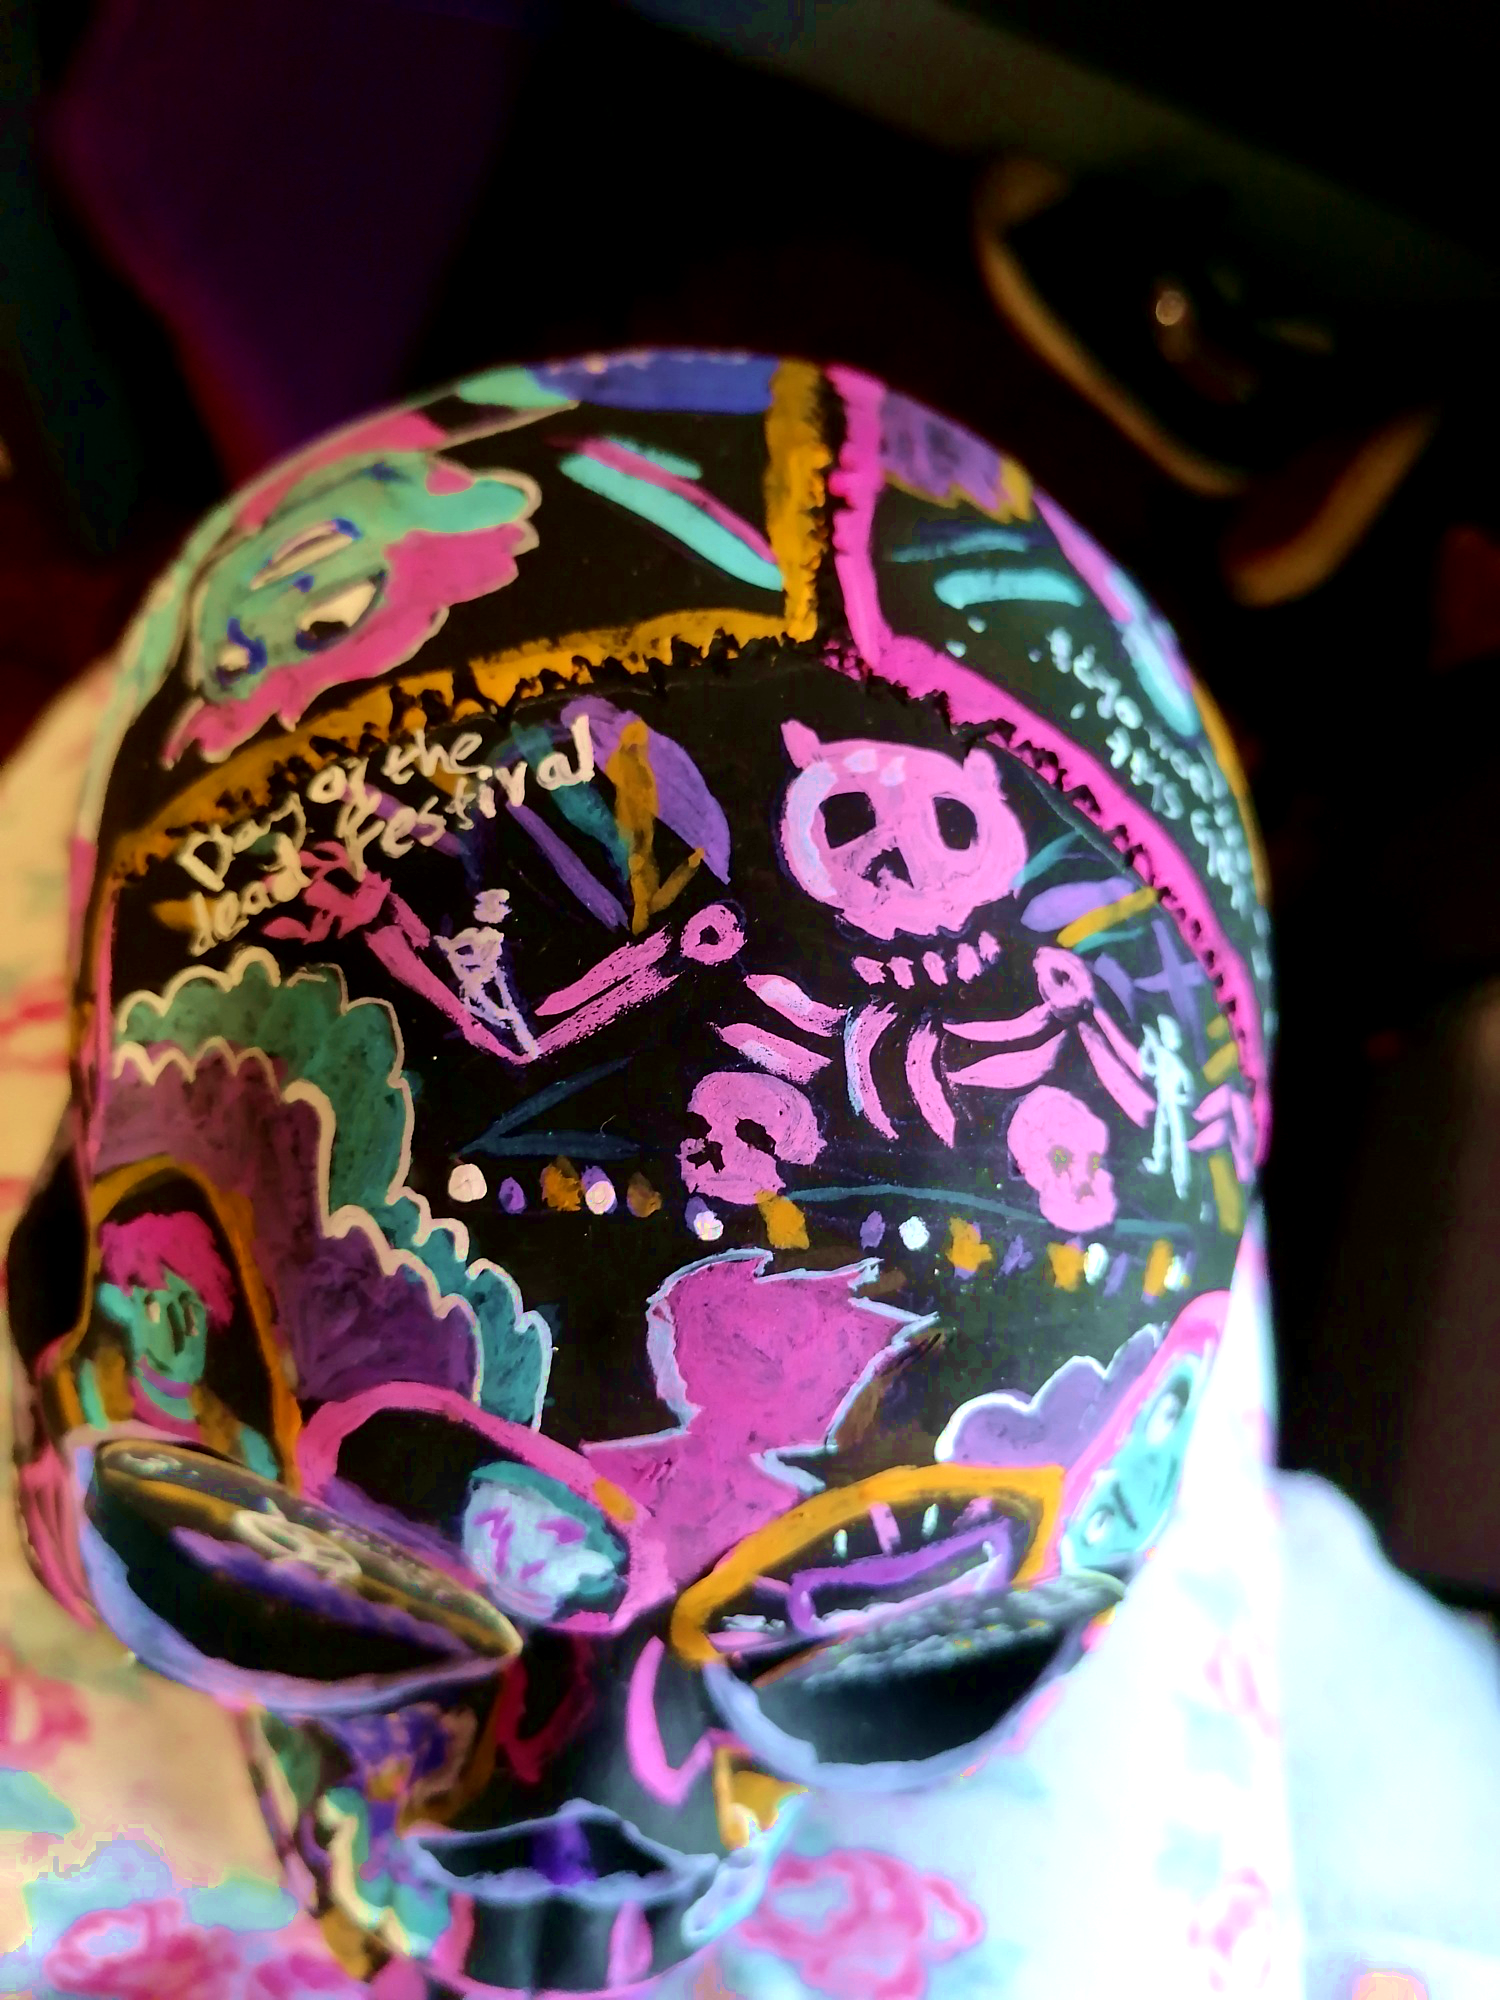
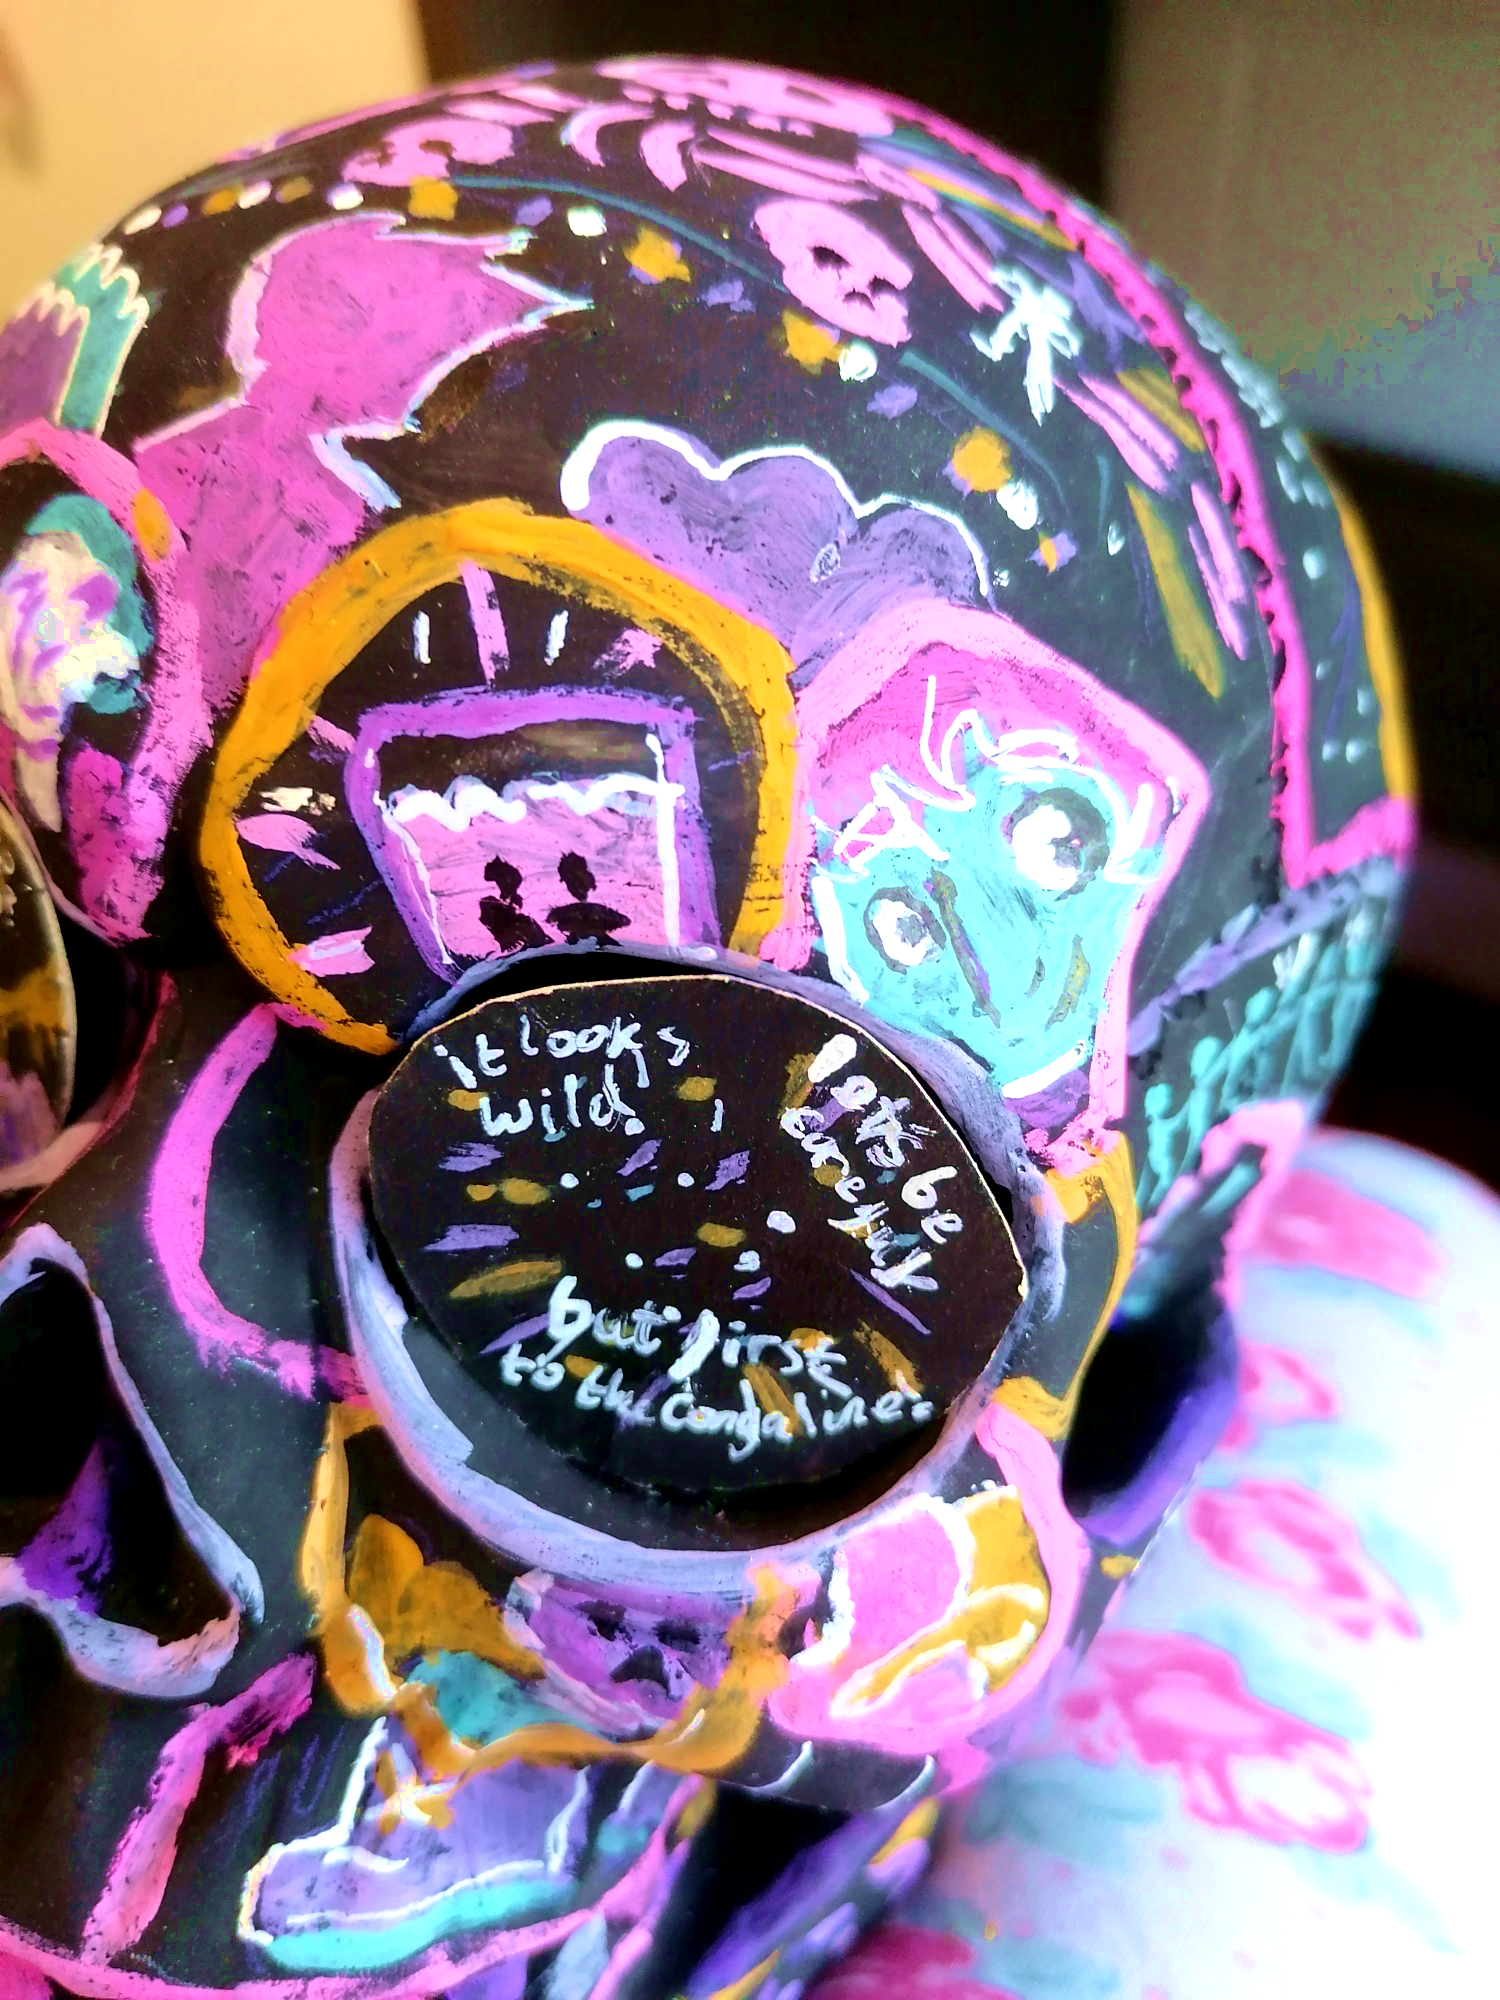
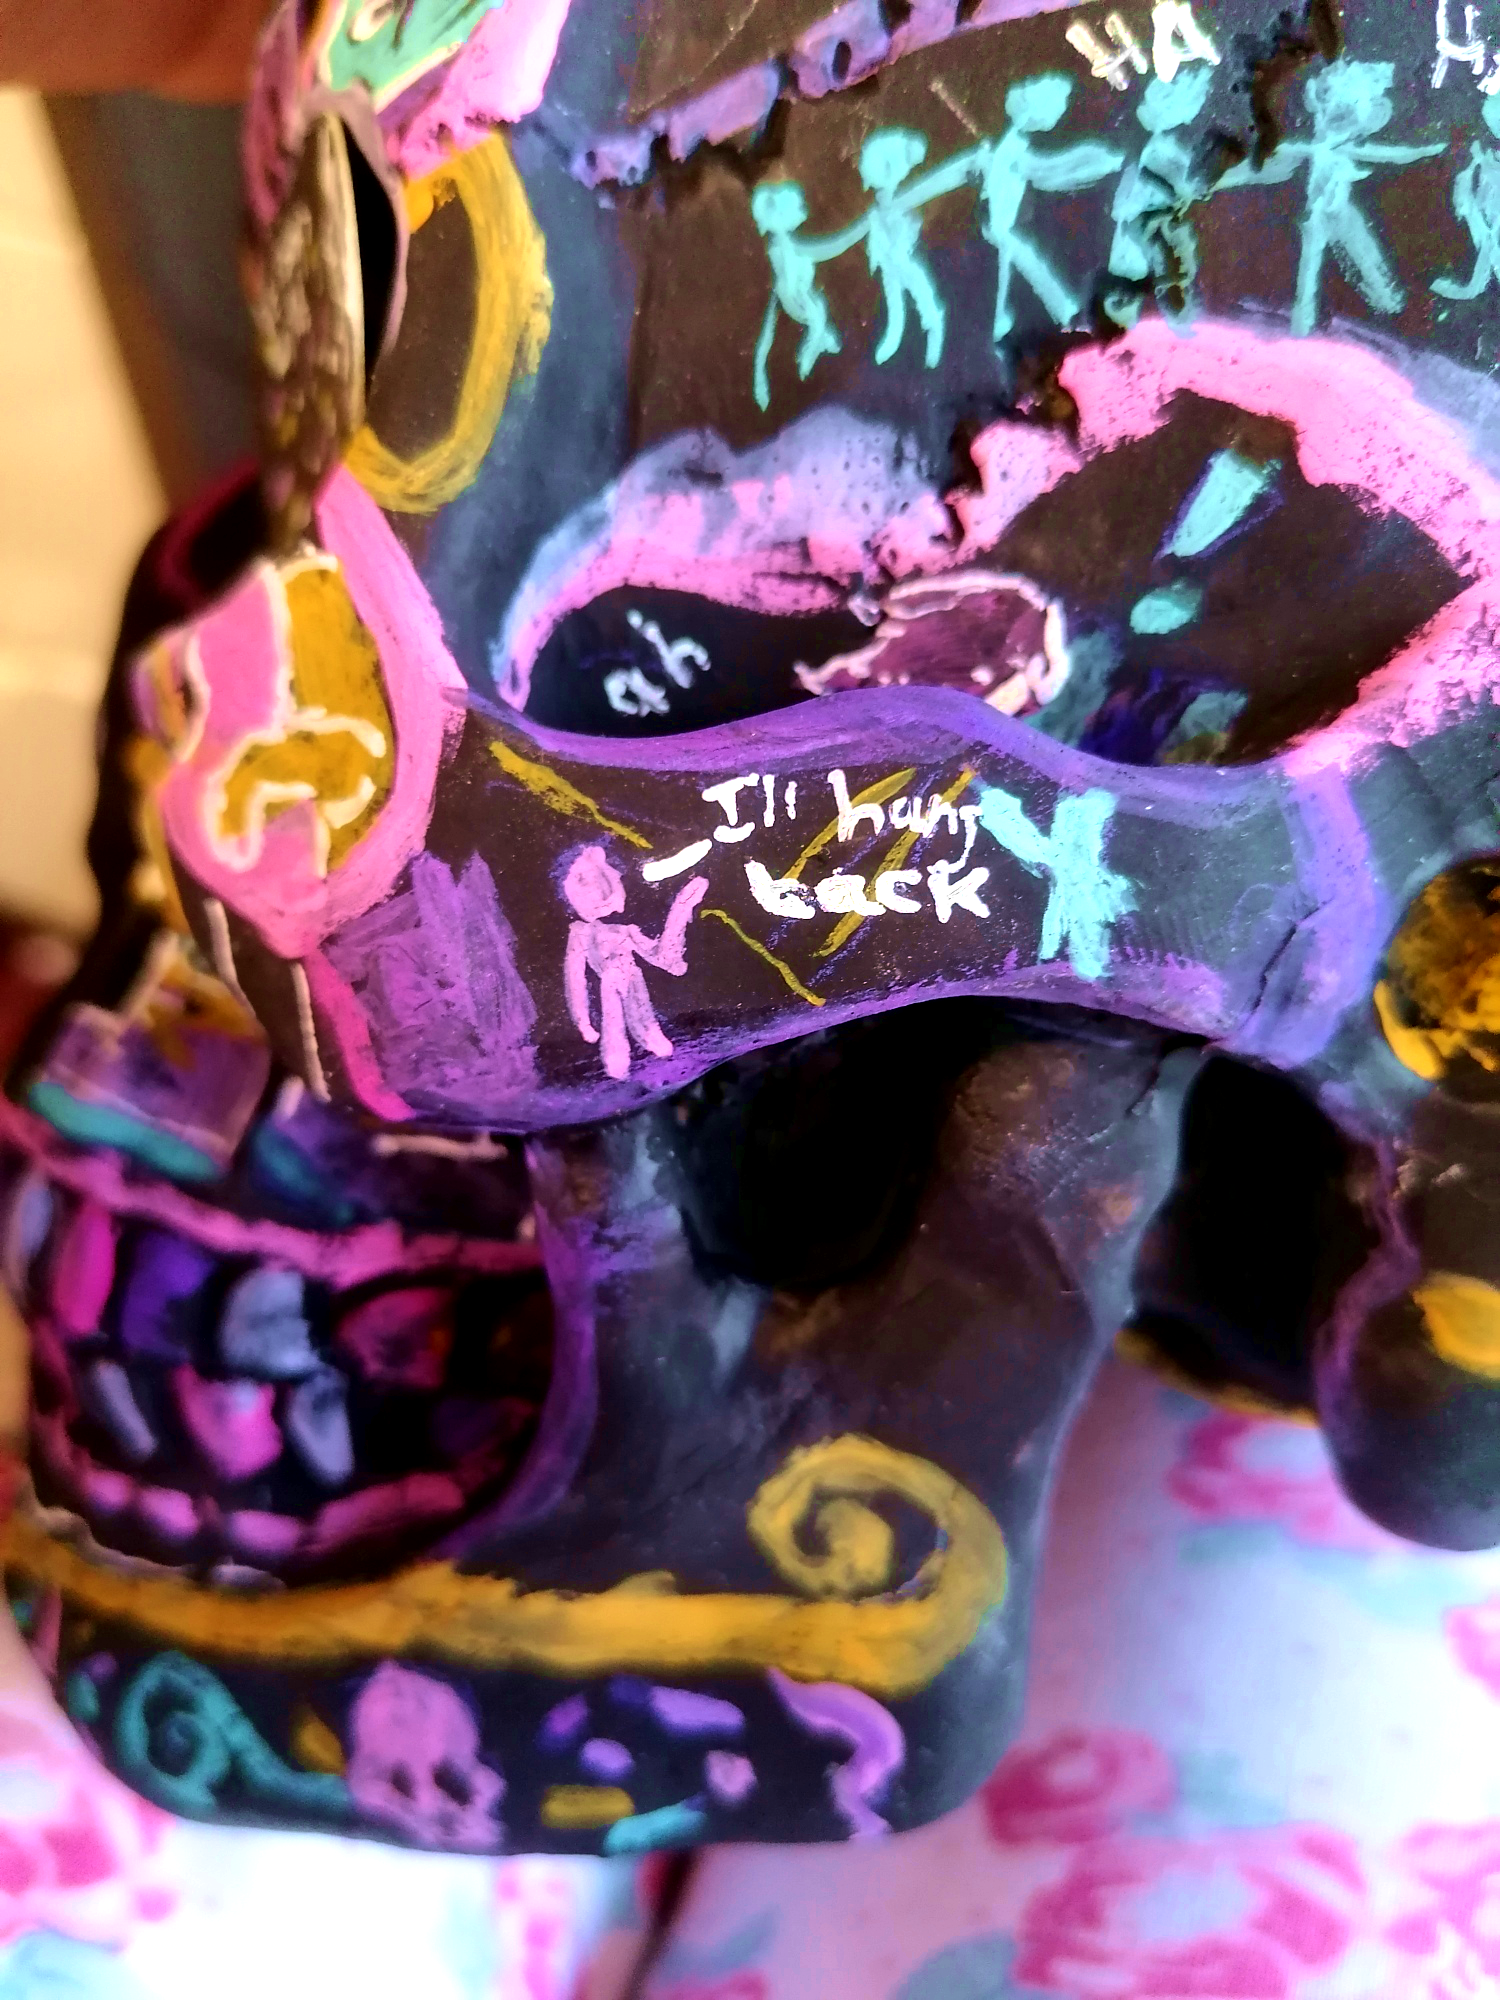
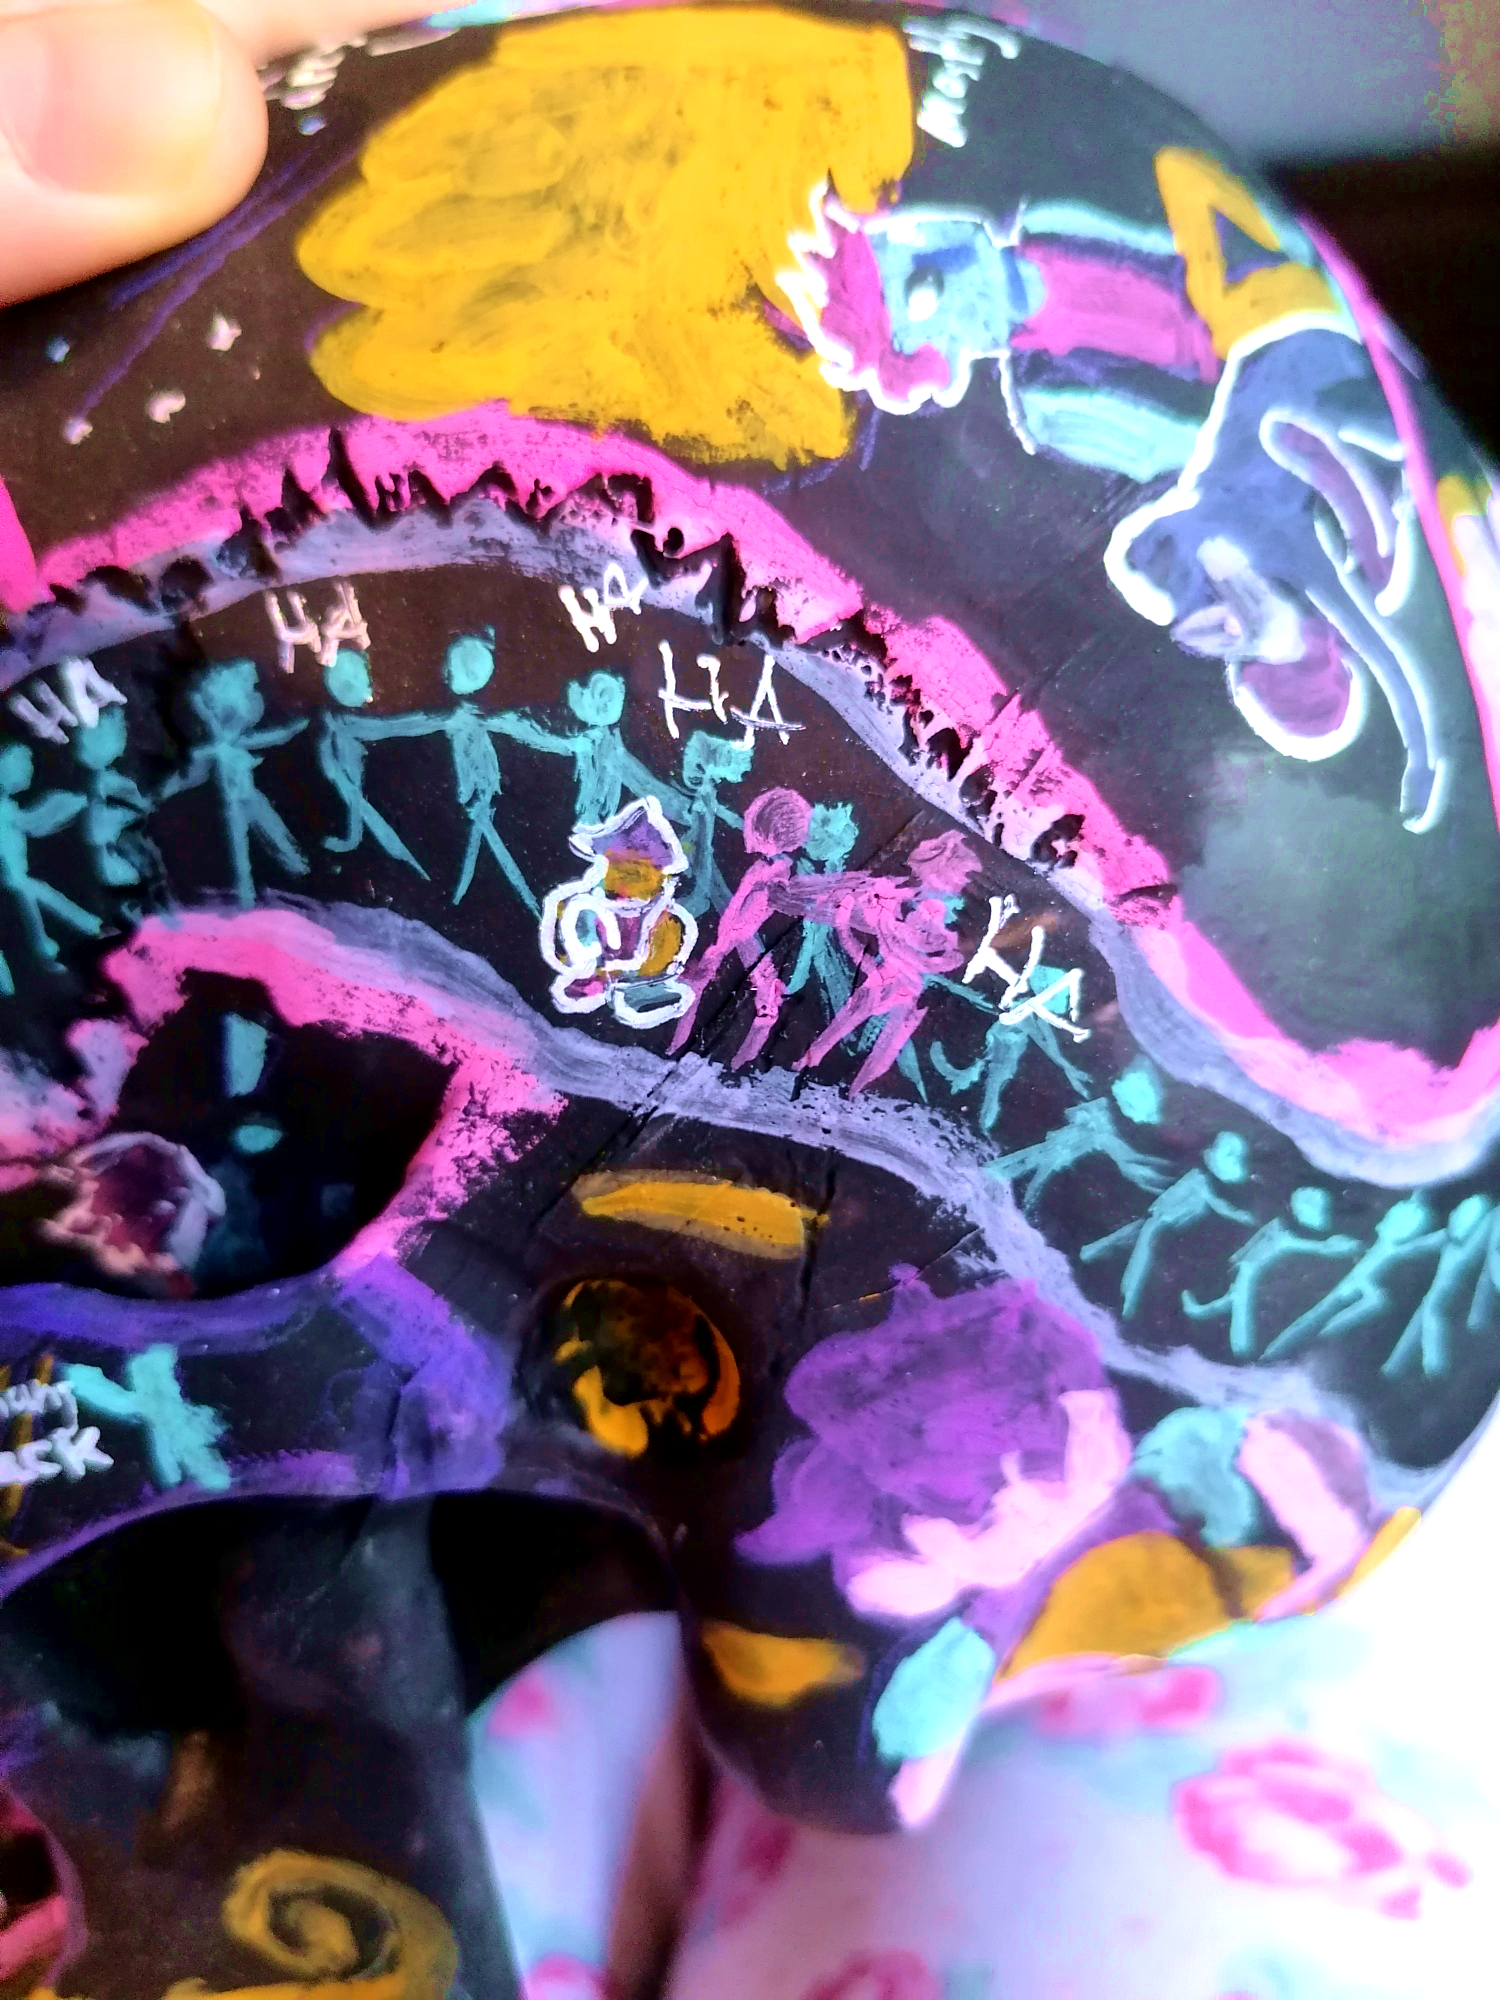
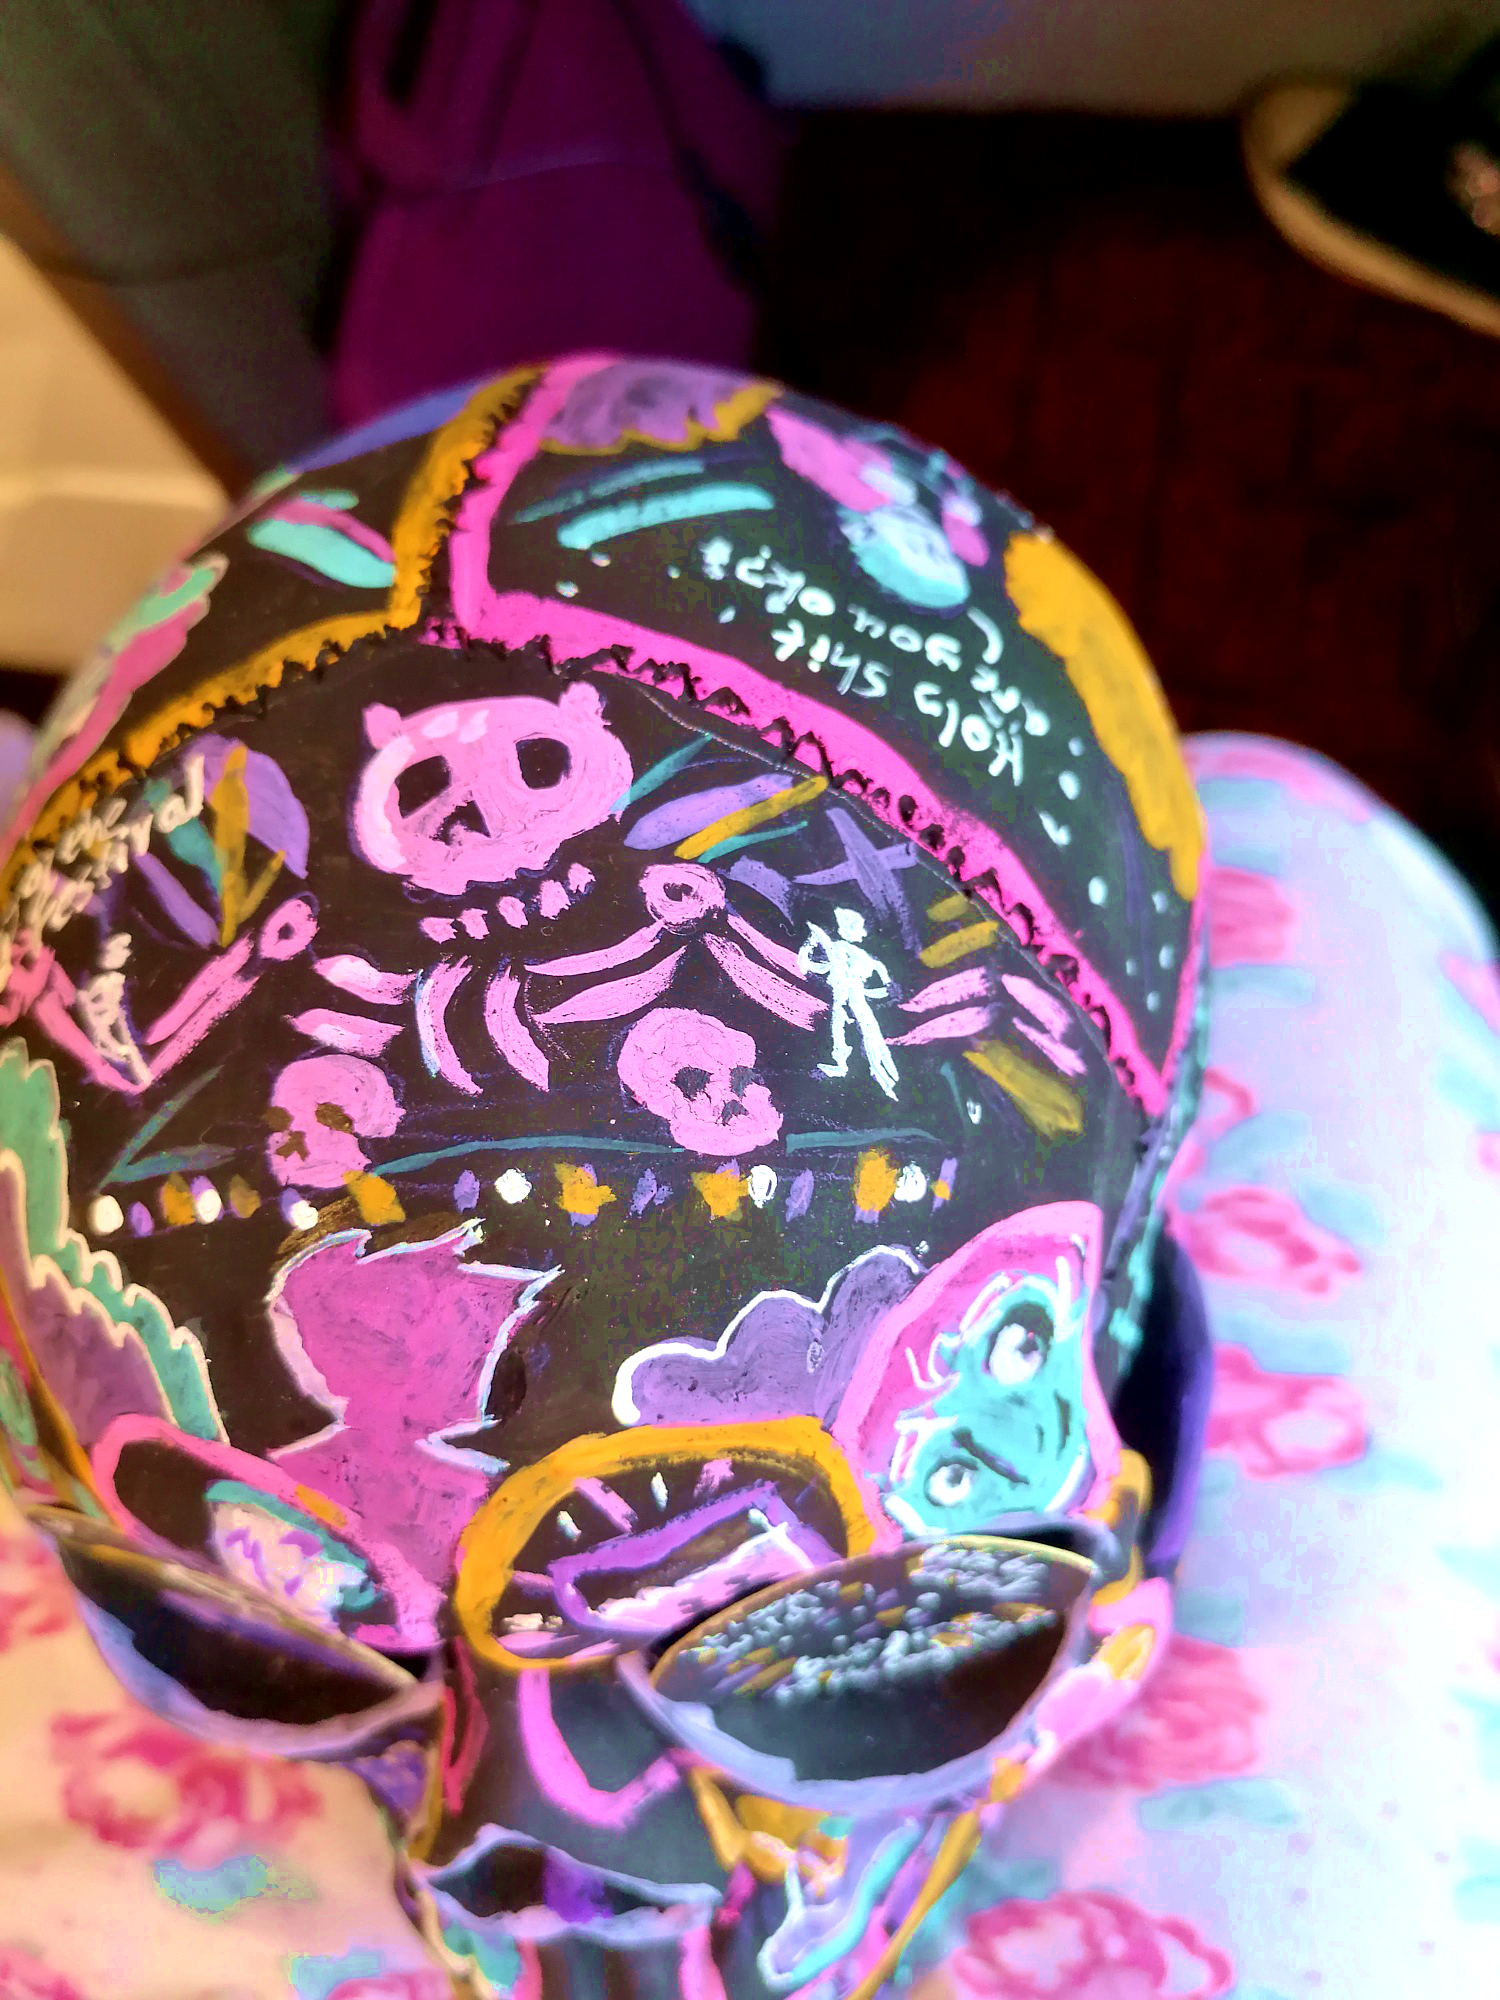
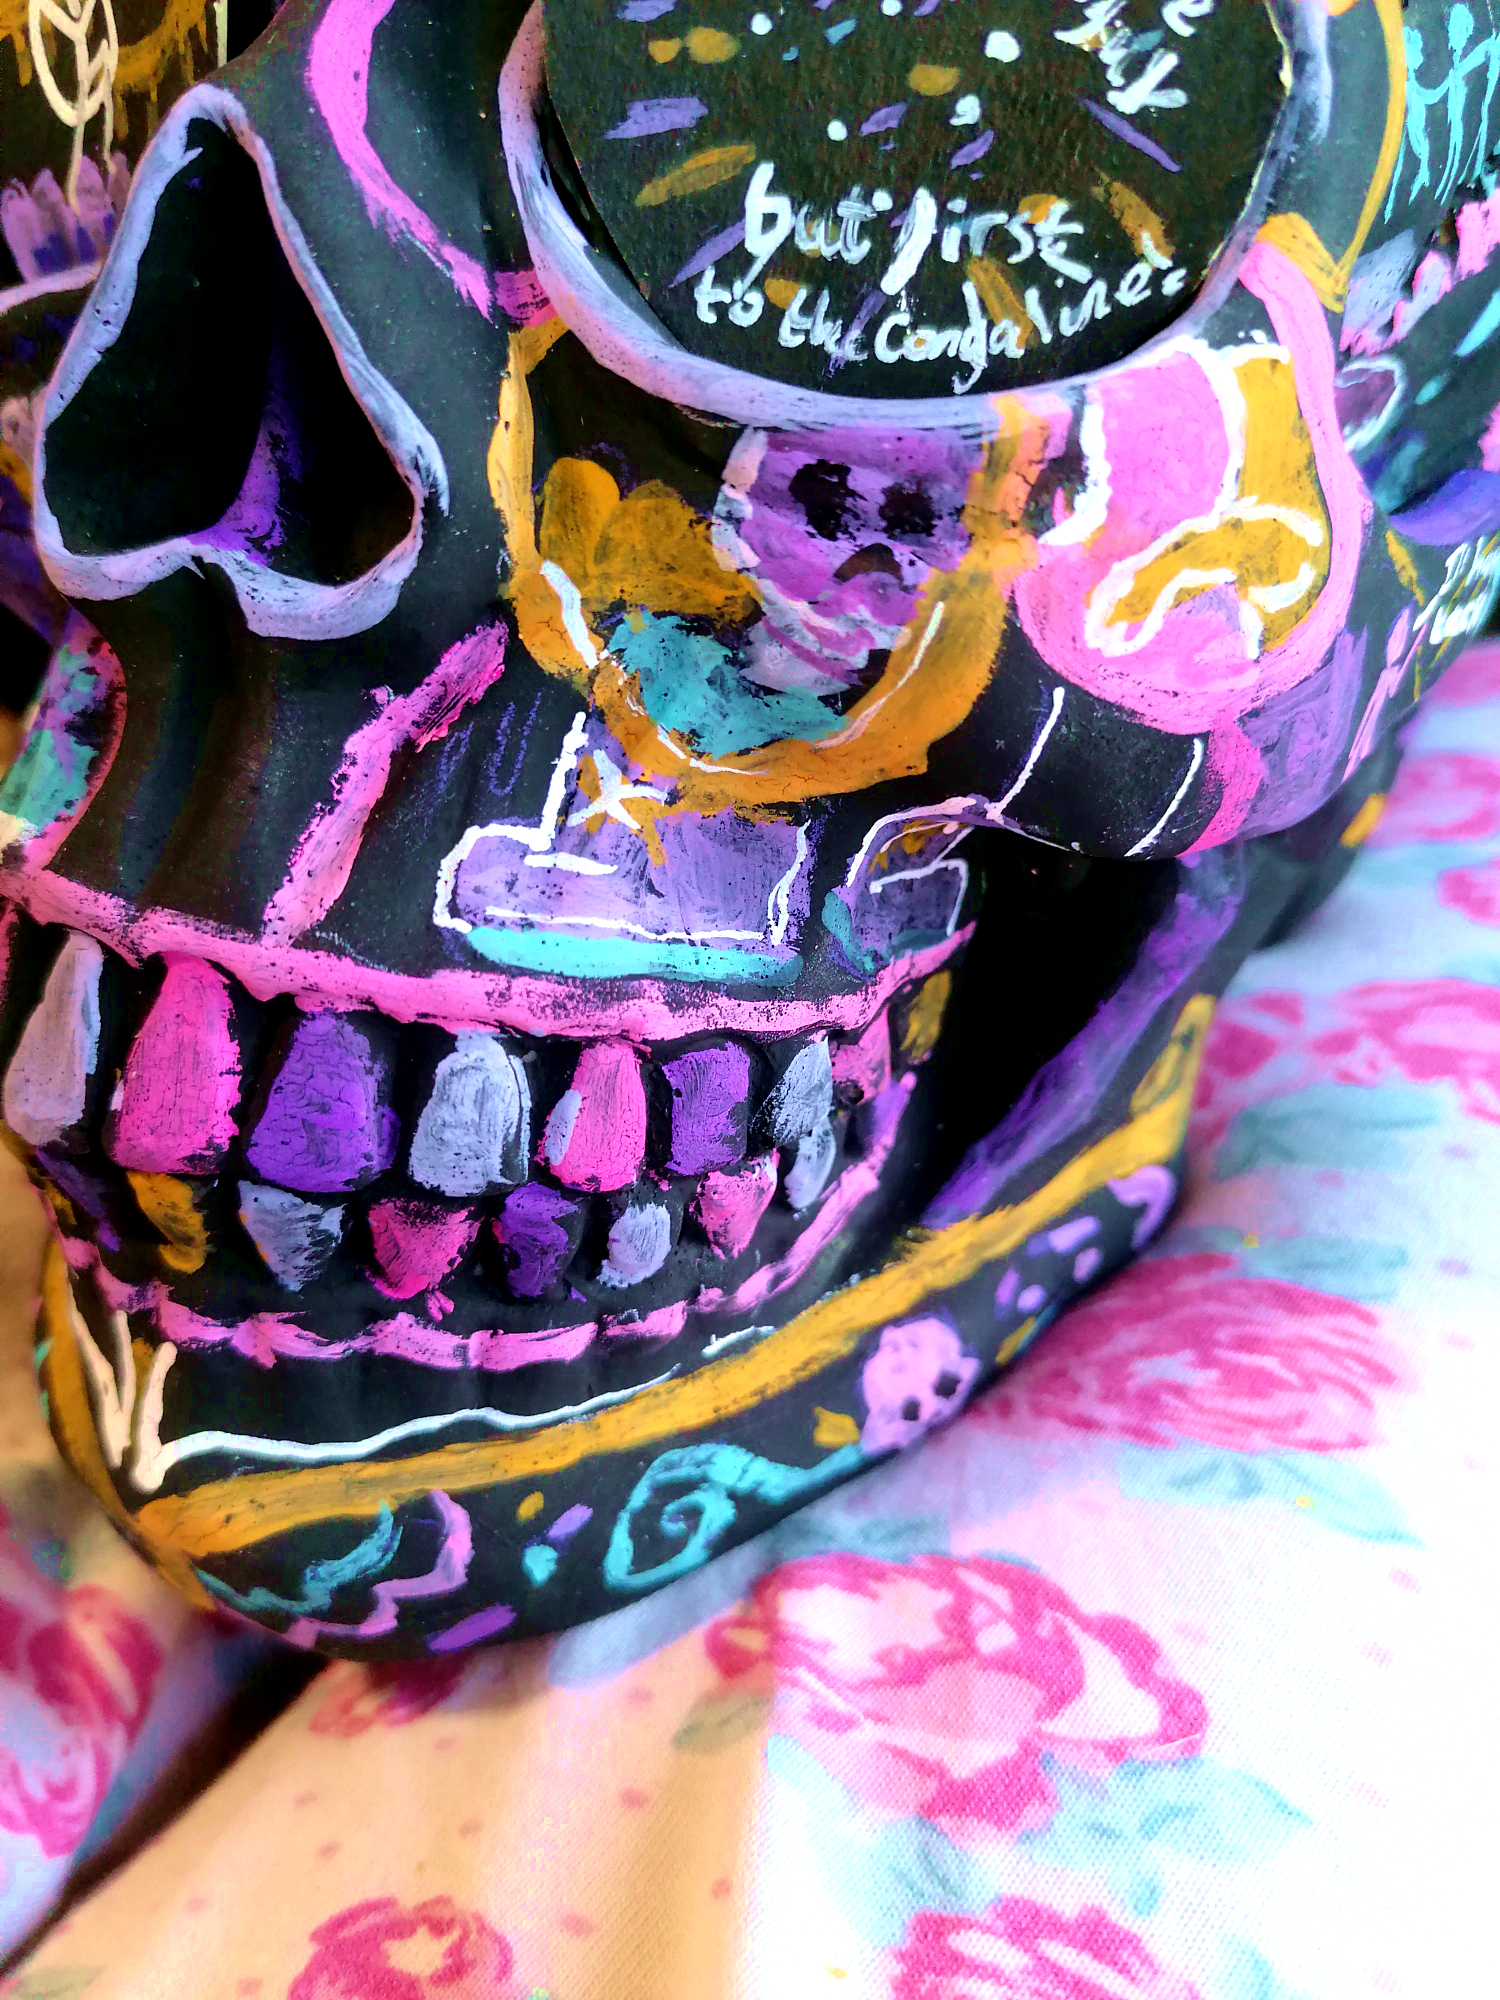
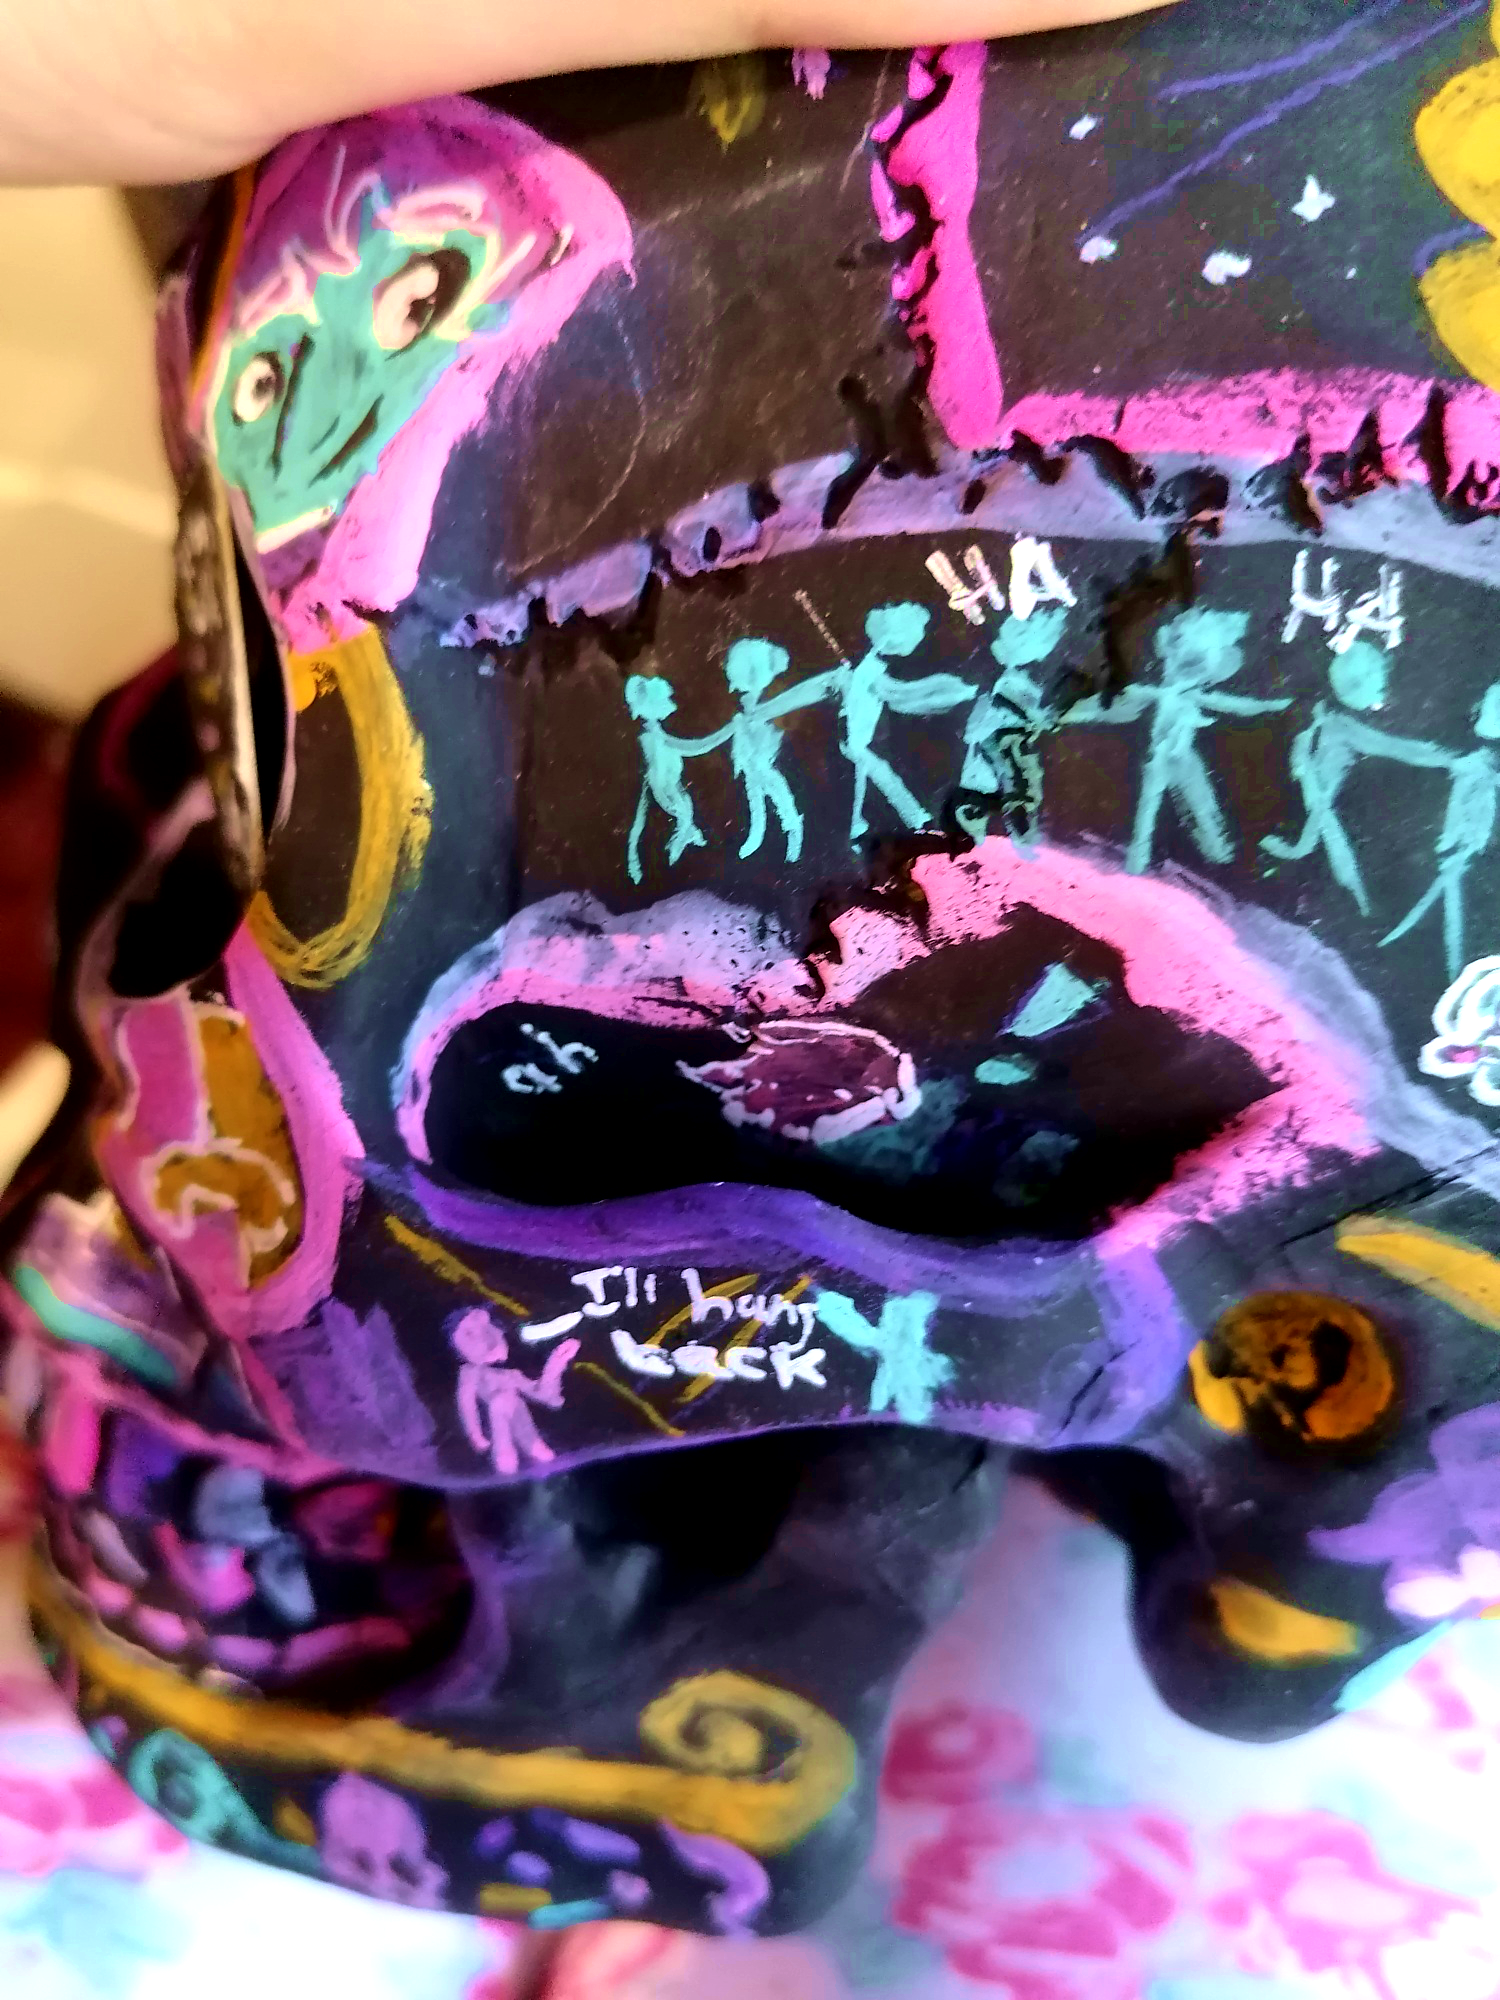
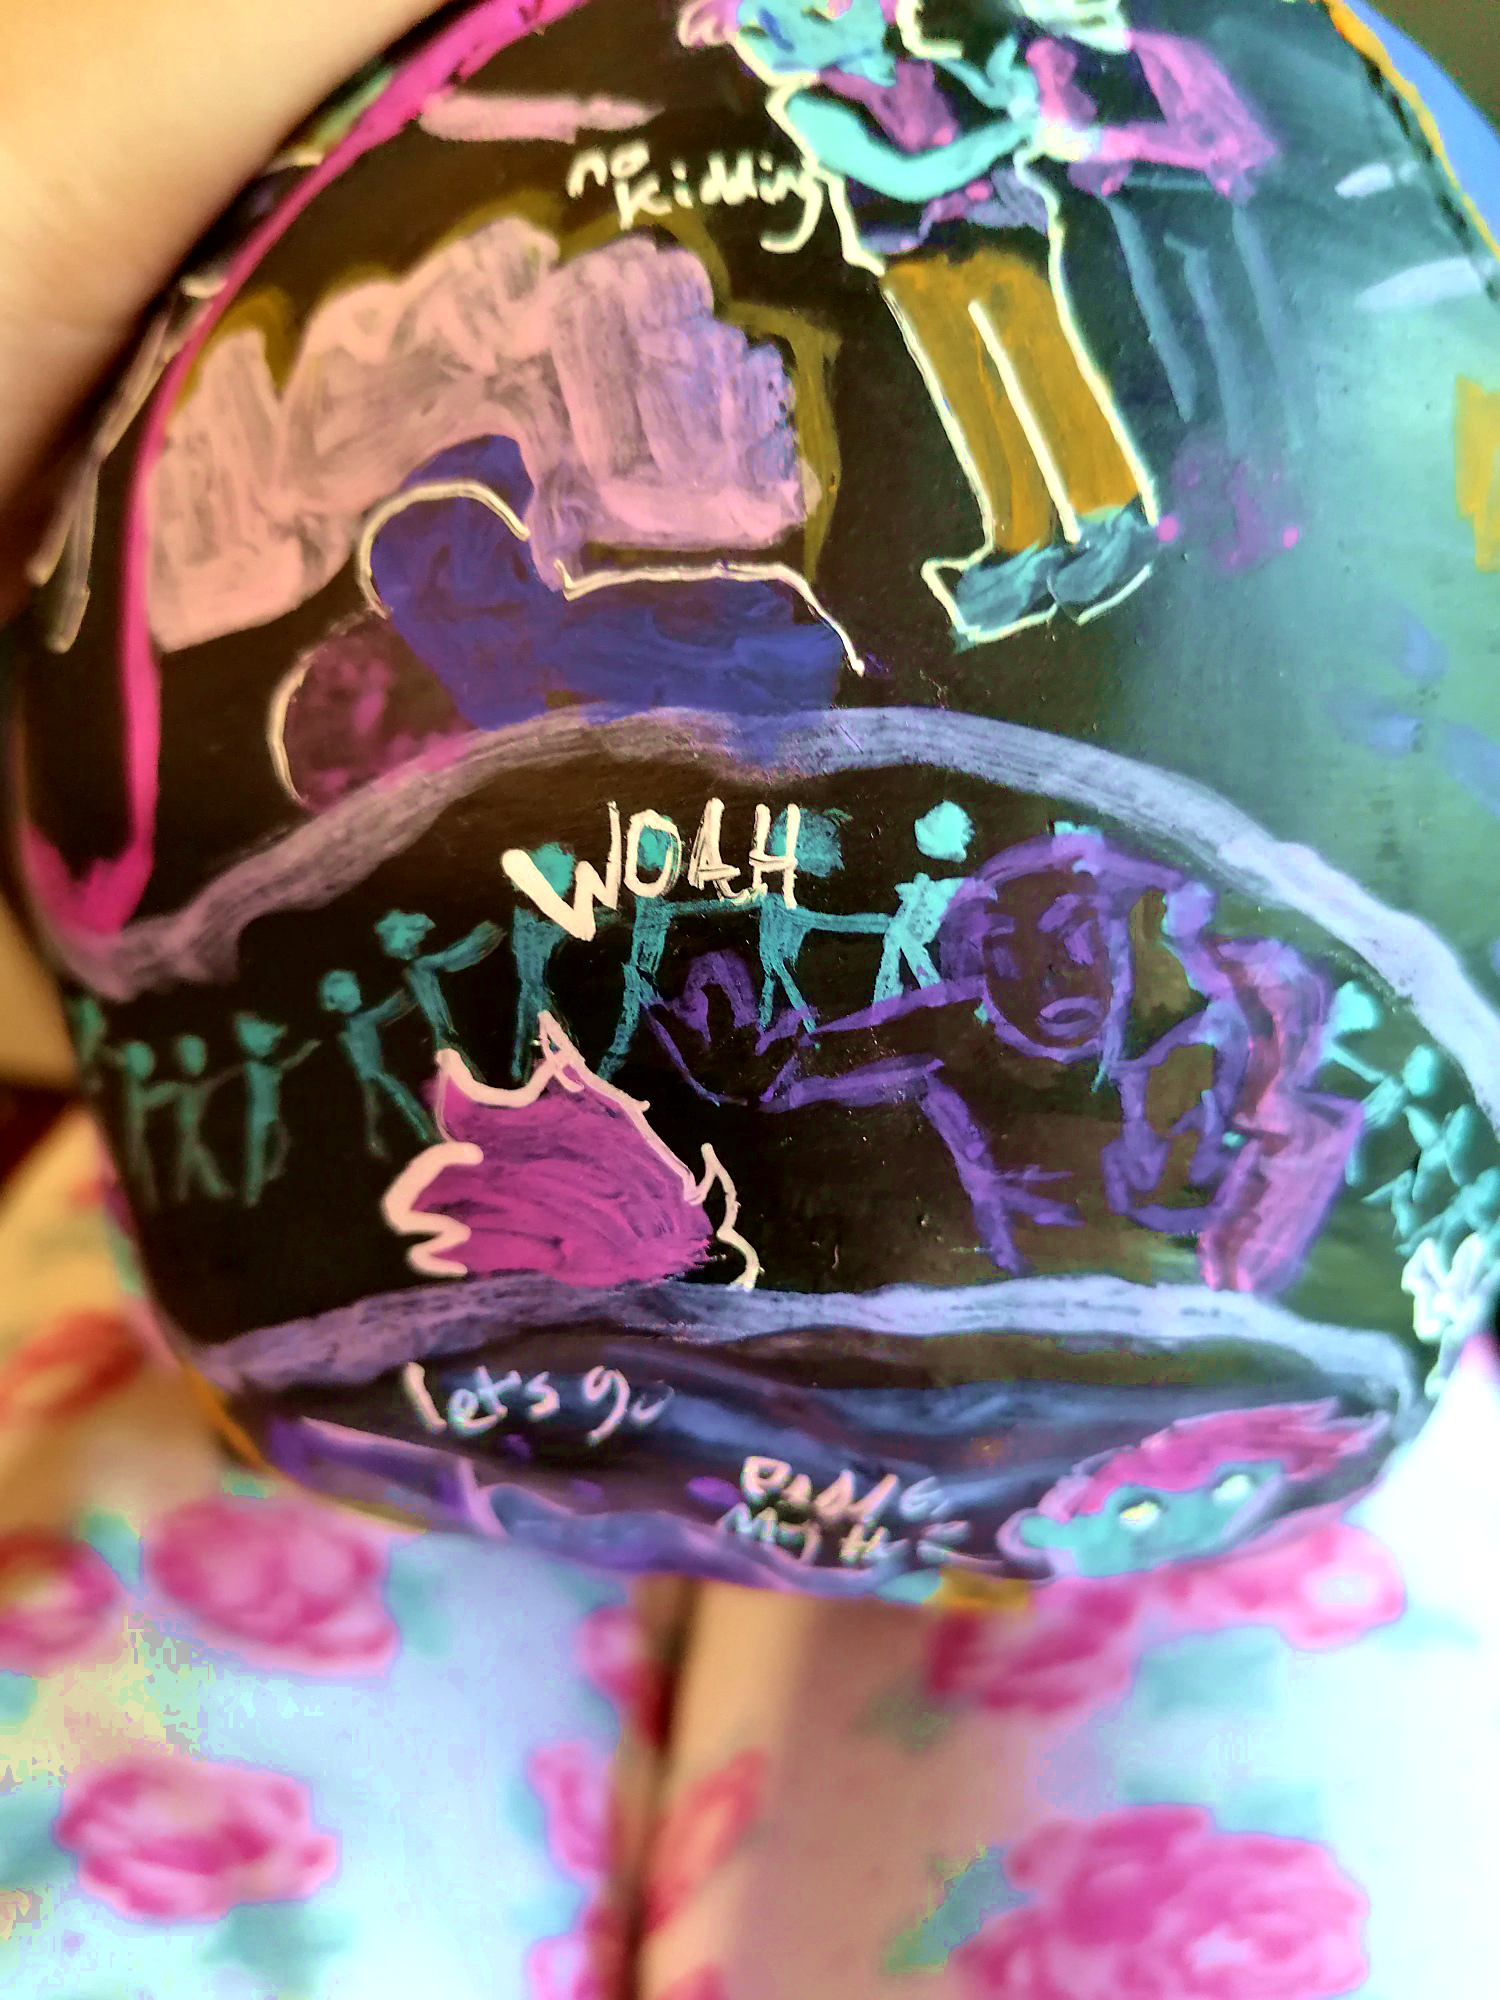
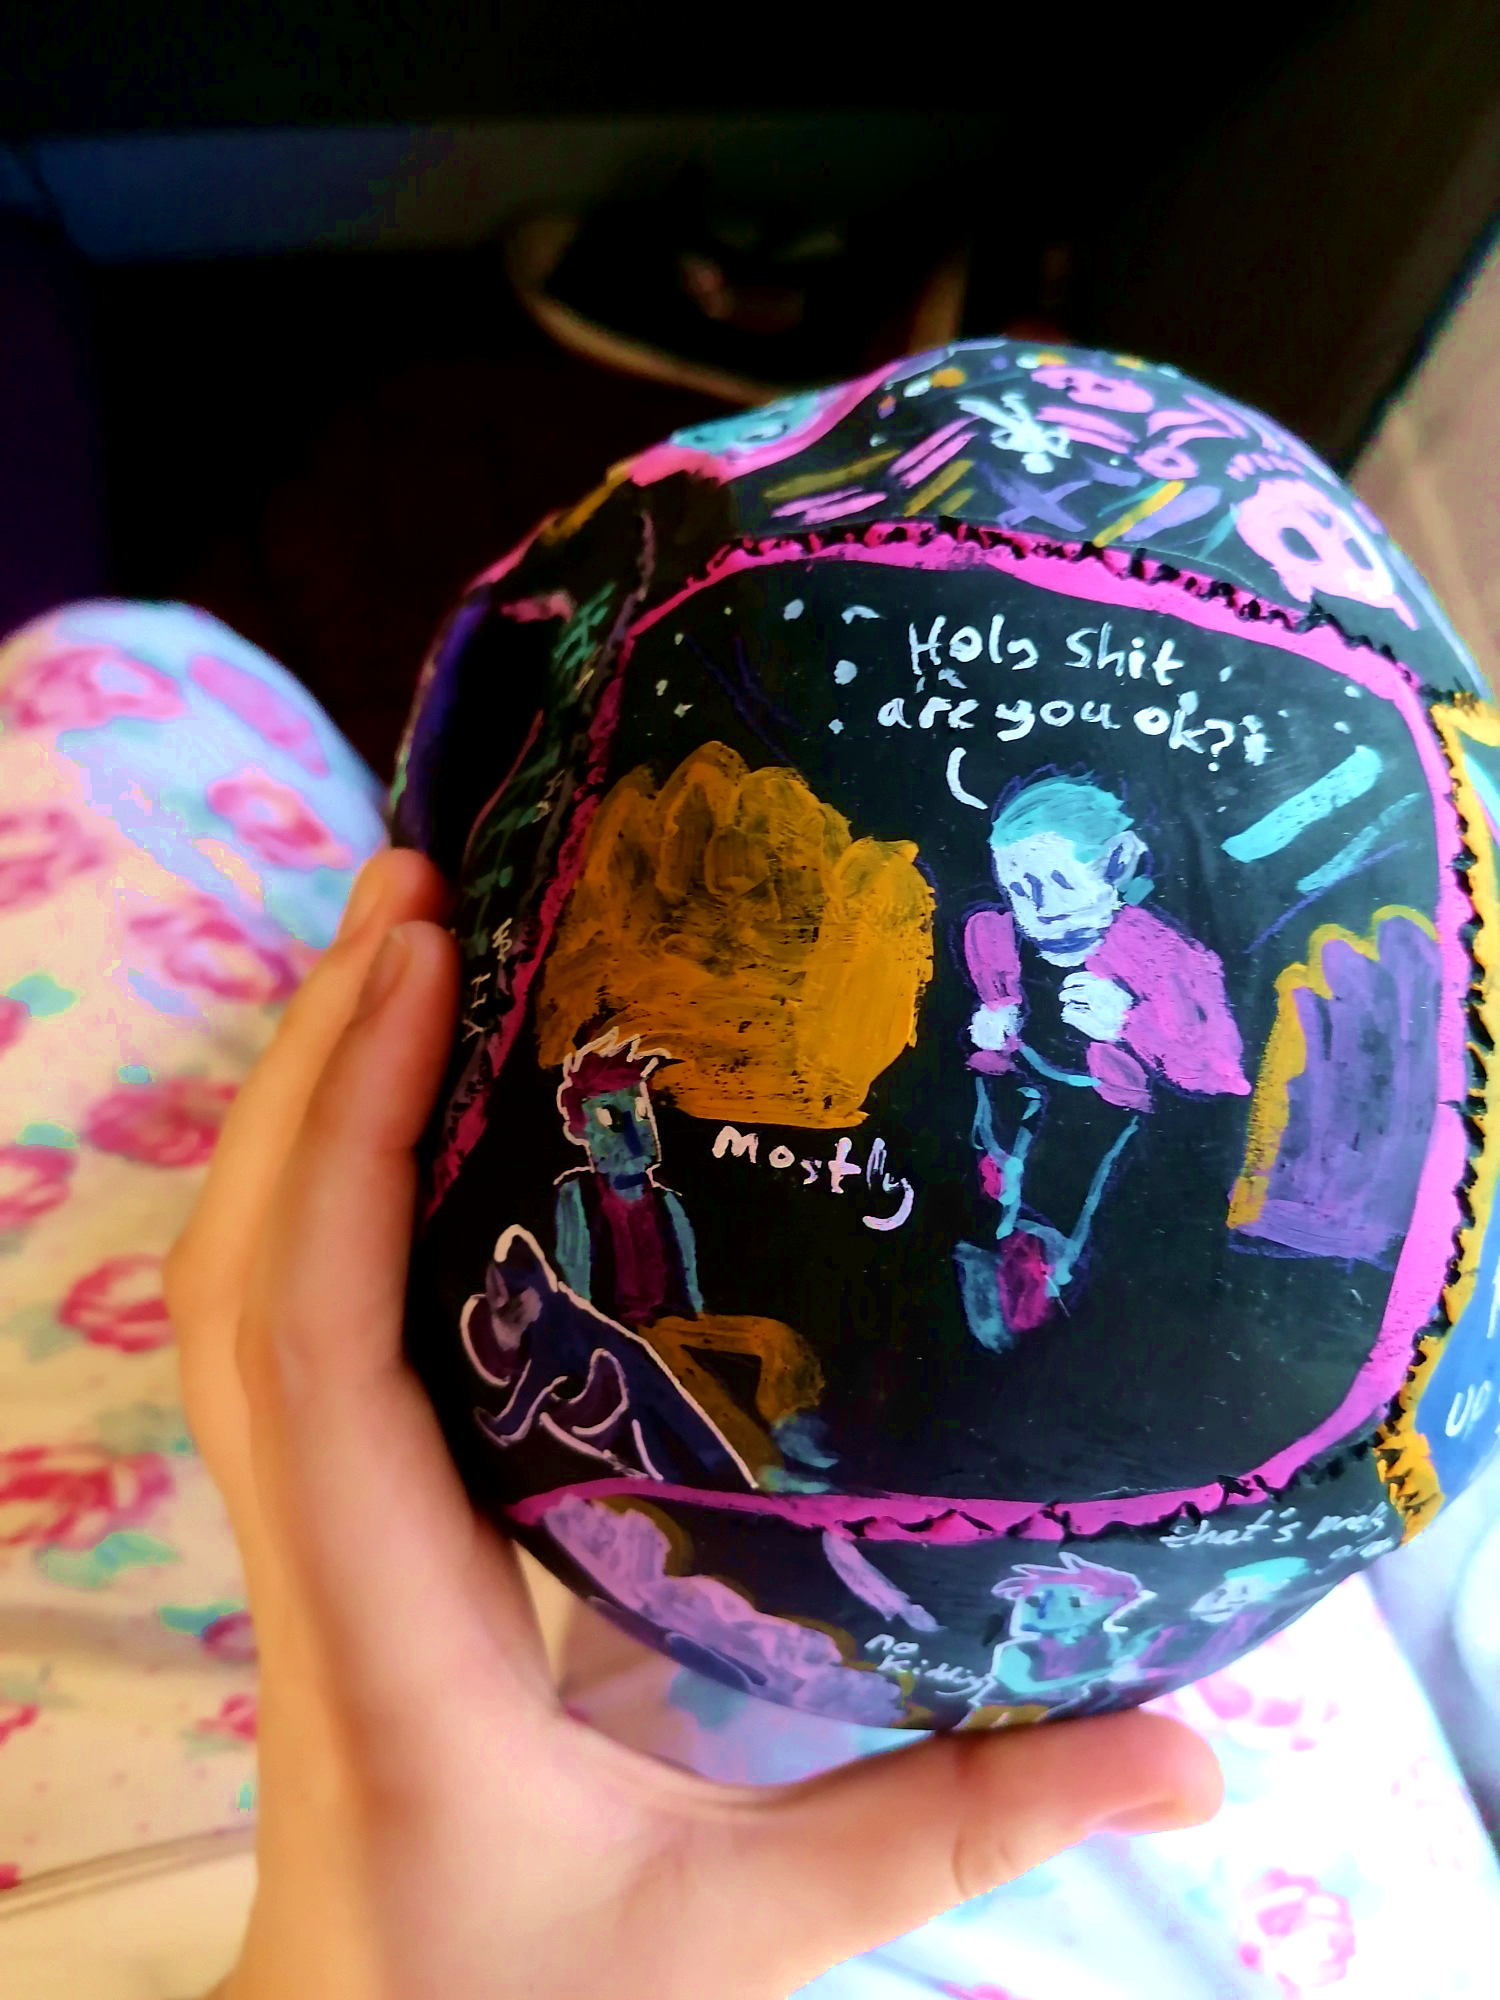
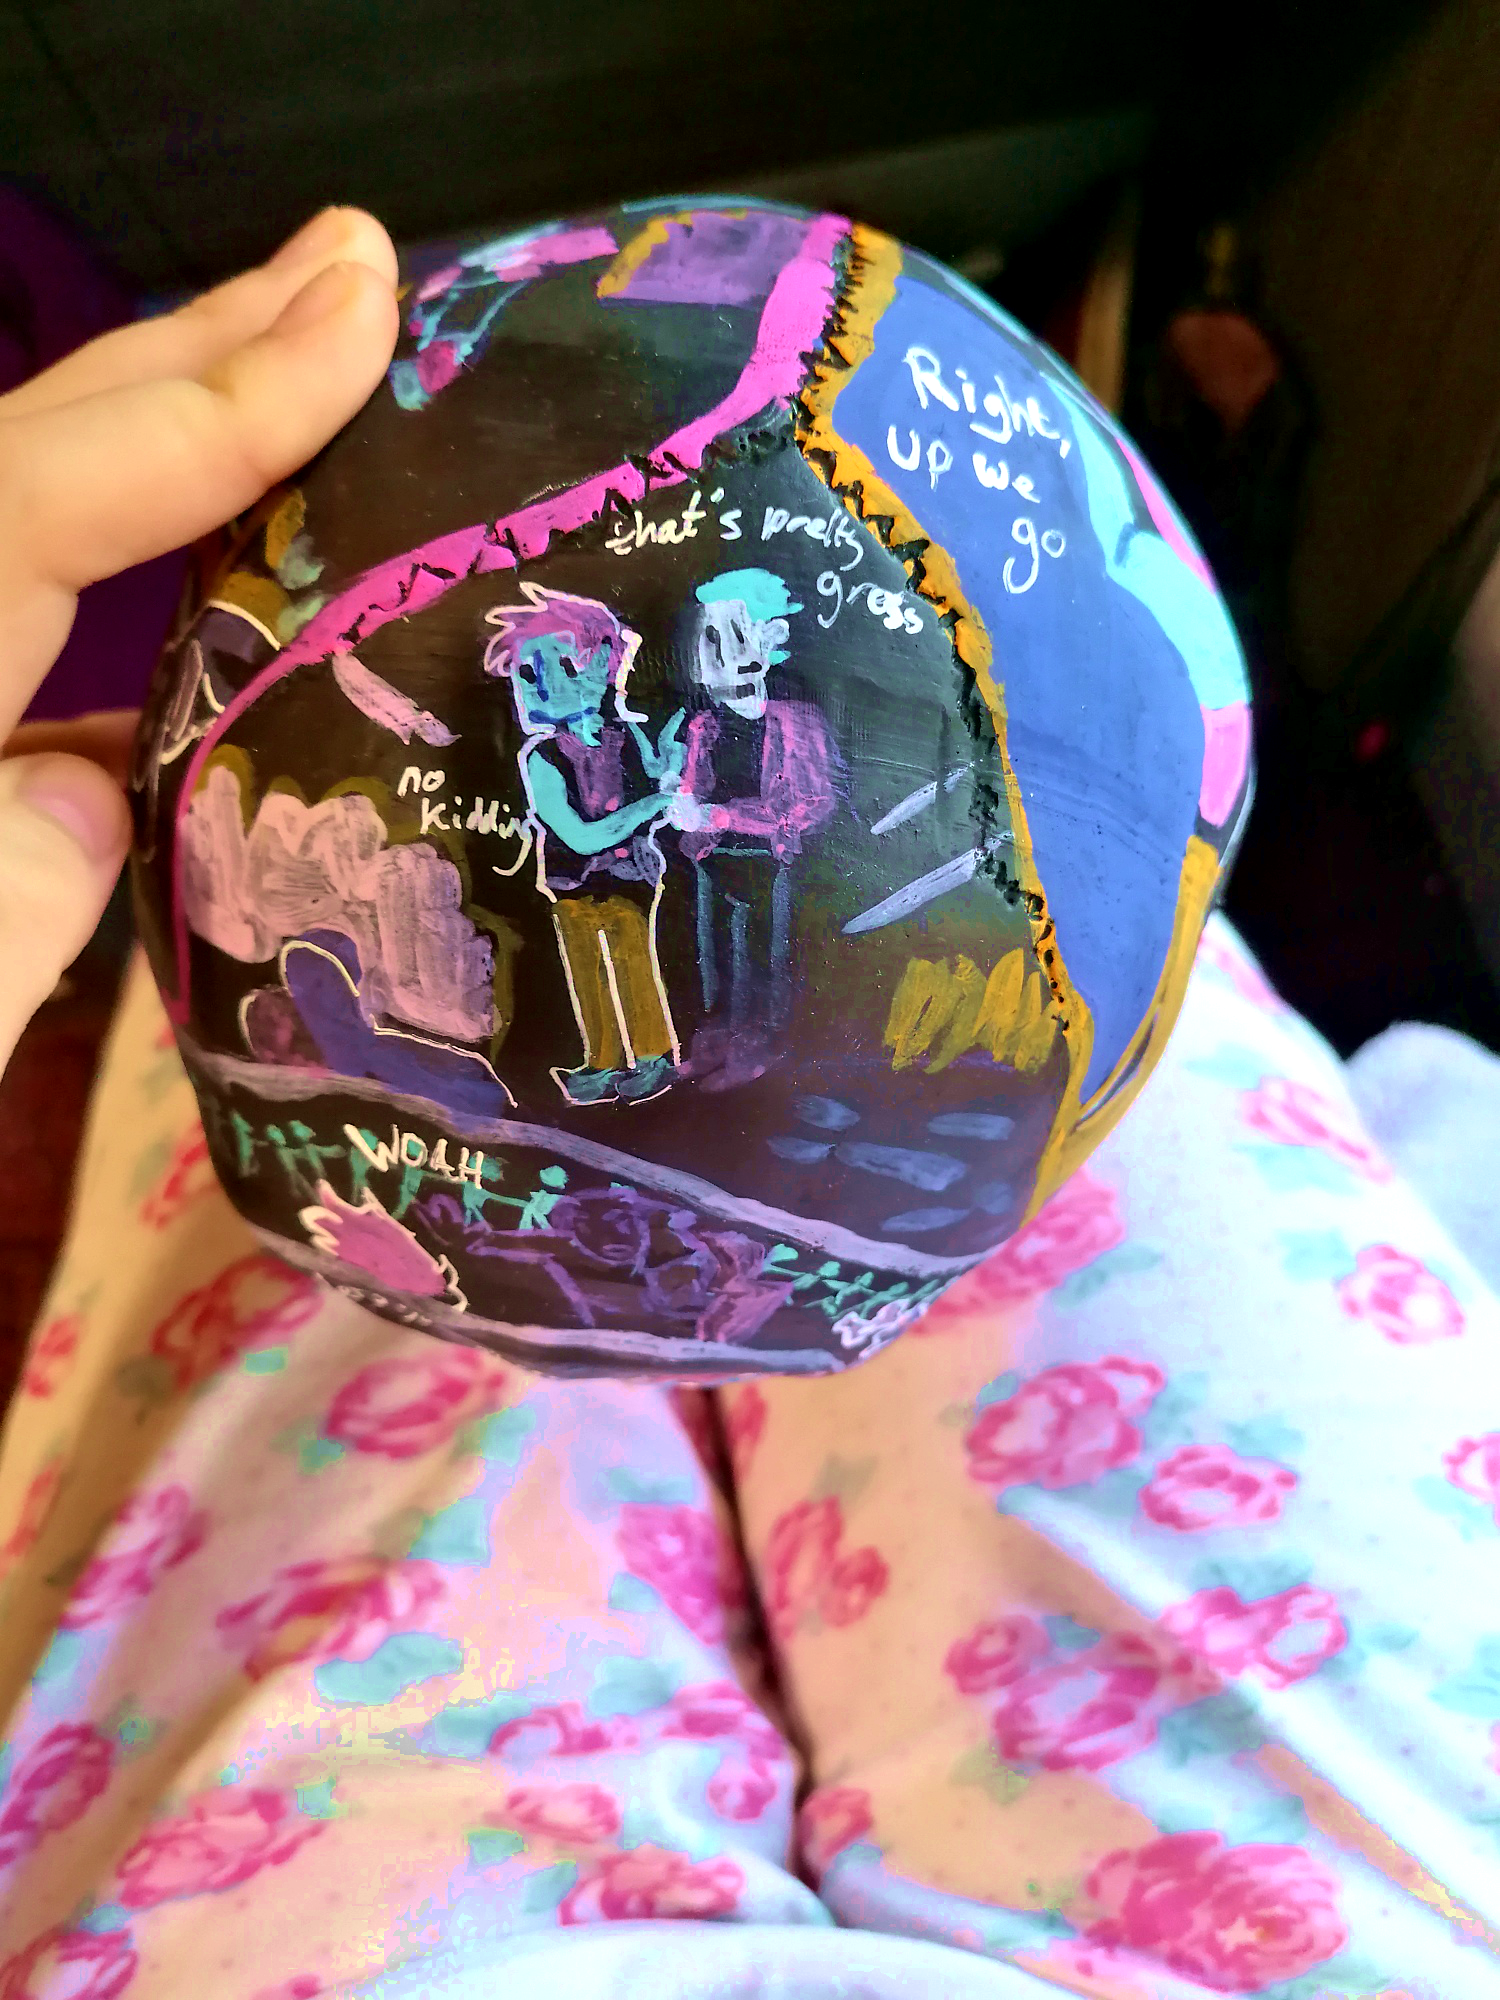
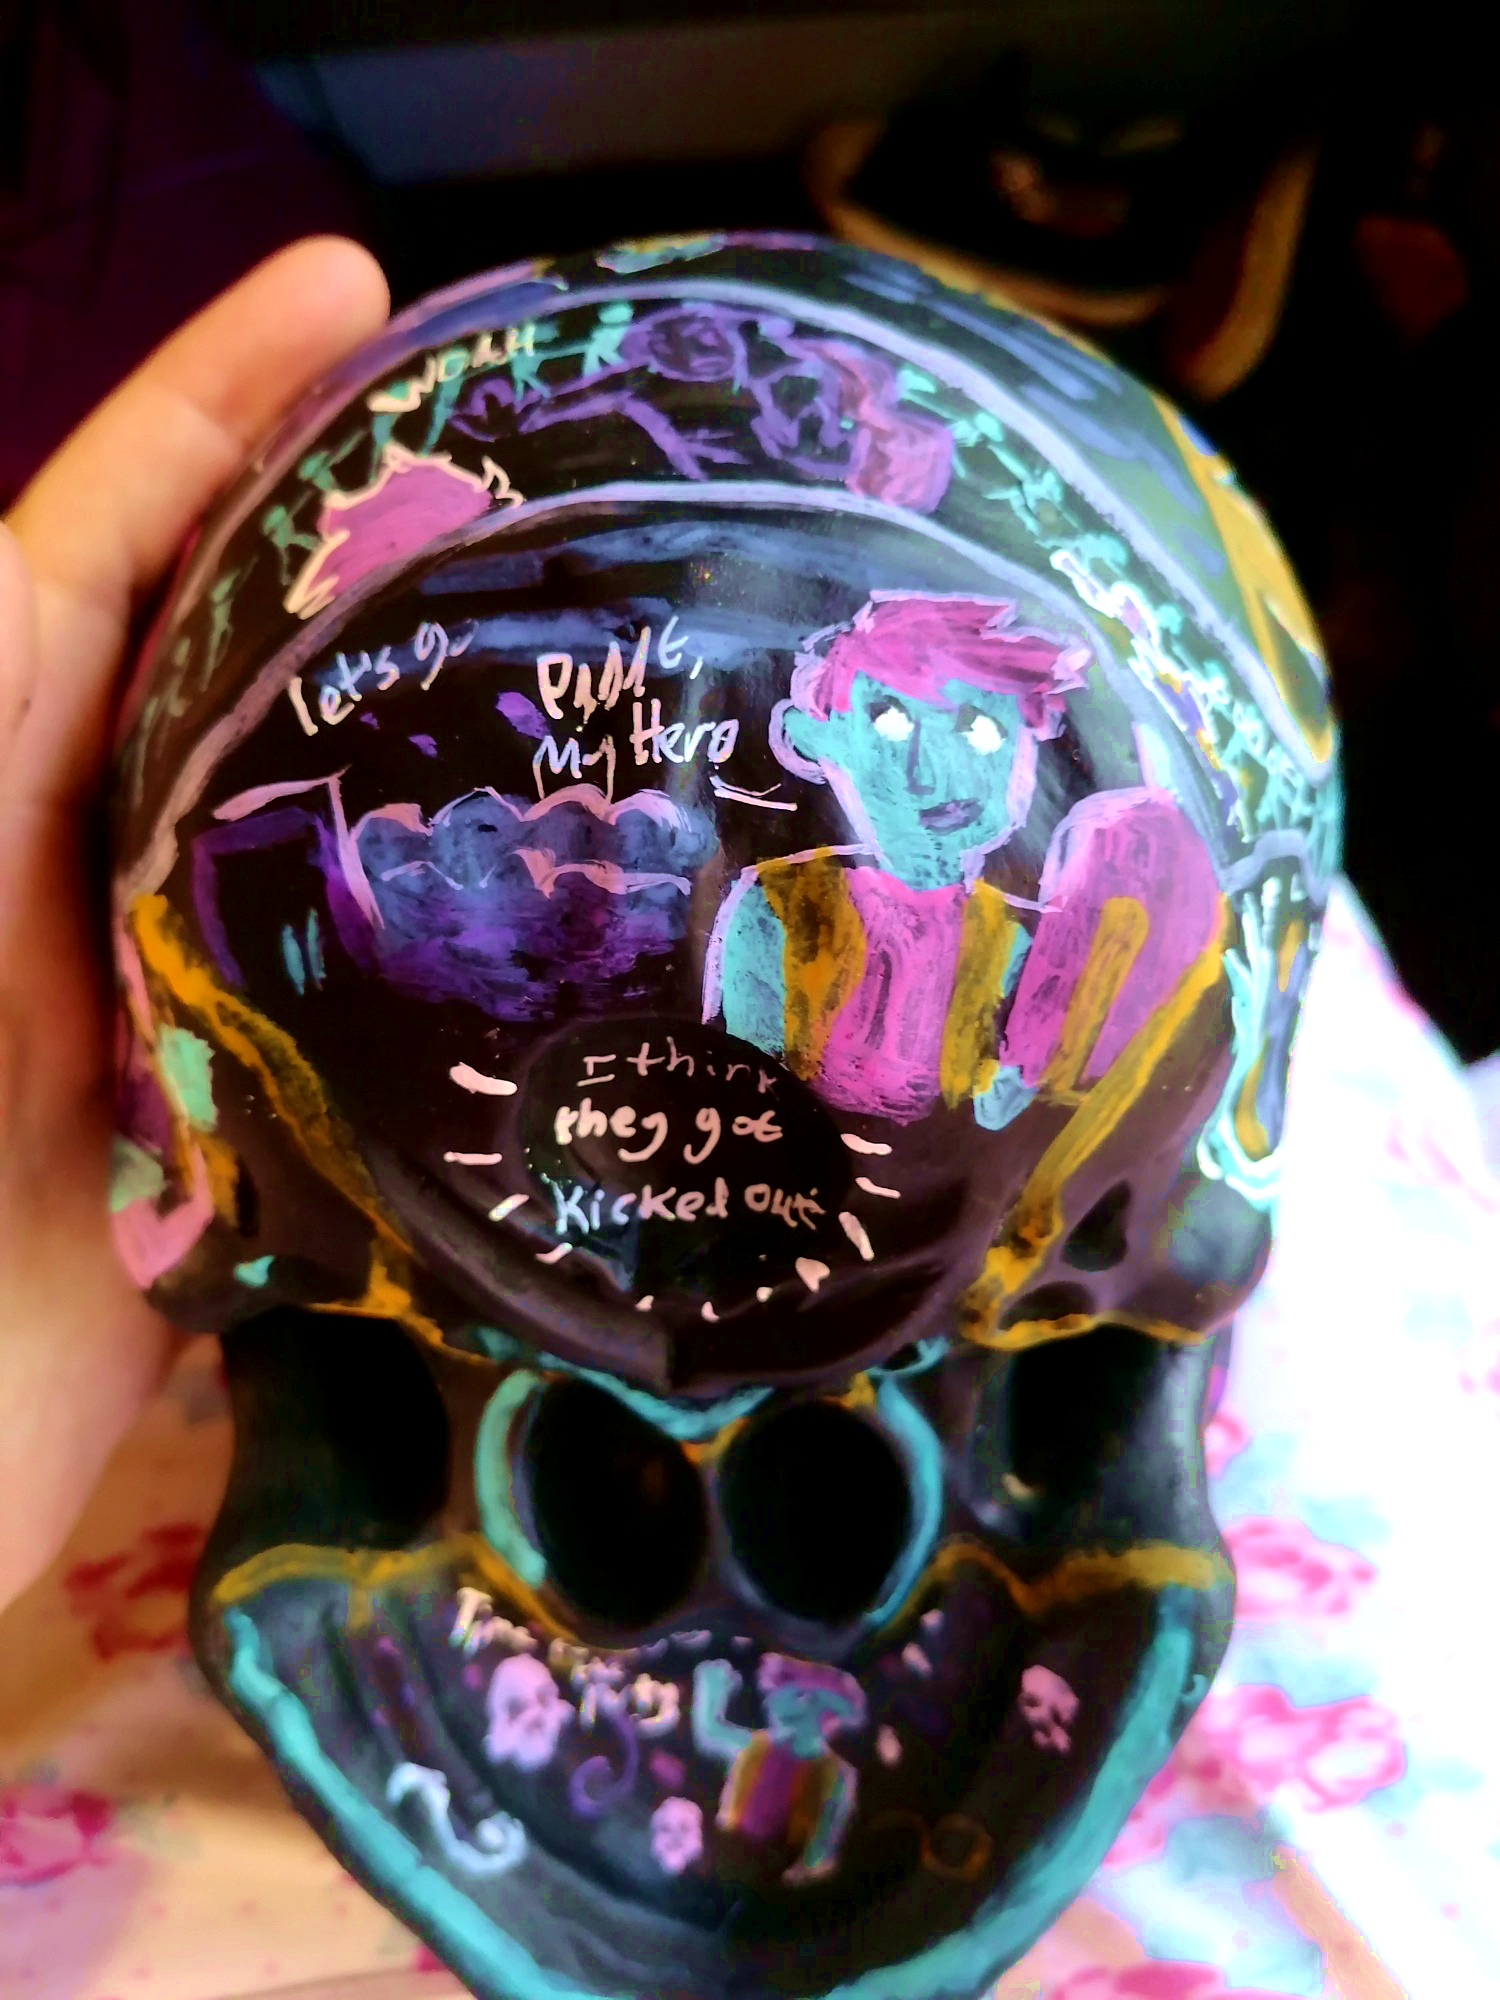
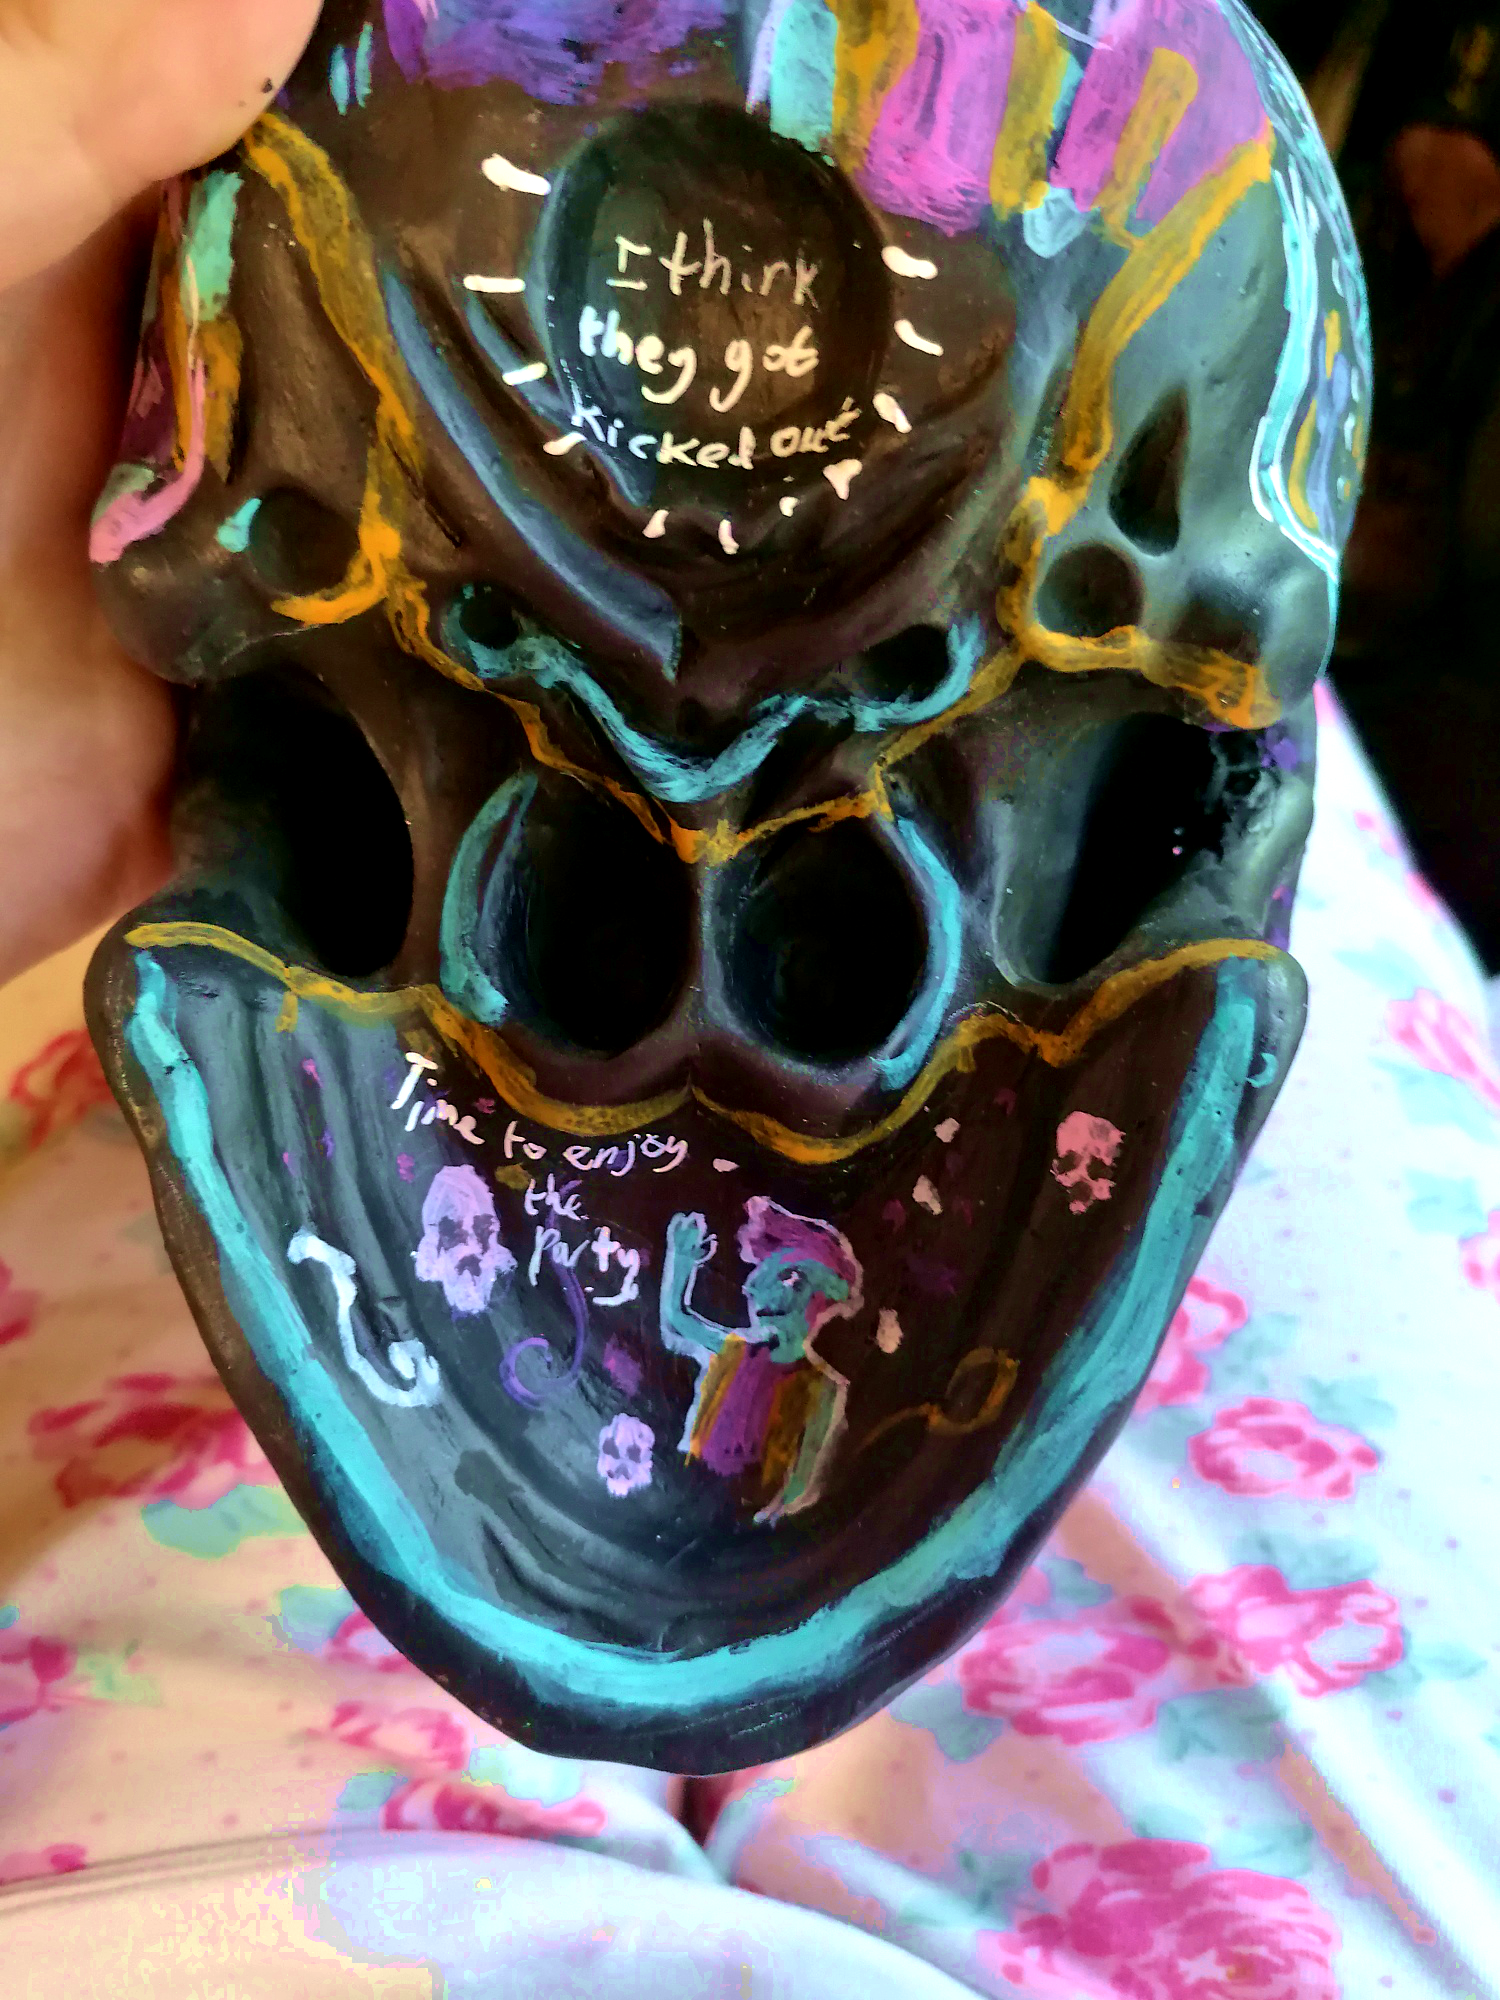
The story is about a Day of the Dead event she attended with friends, she was sober that night and had leaned down to tie her shoelaces when out of the moshpit a couple fell down next to her while making out and gave her a huge shock. Luckily her friend moved her out of the way and the couple was actually kicked out of the event.
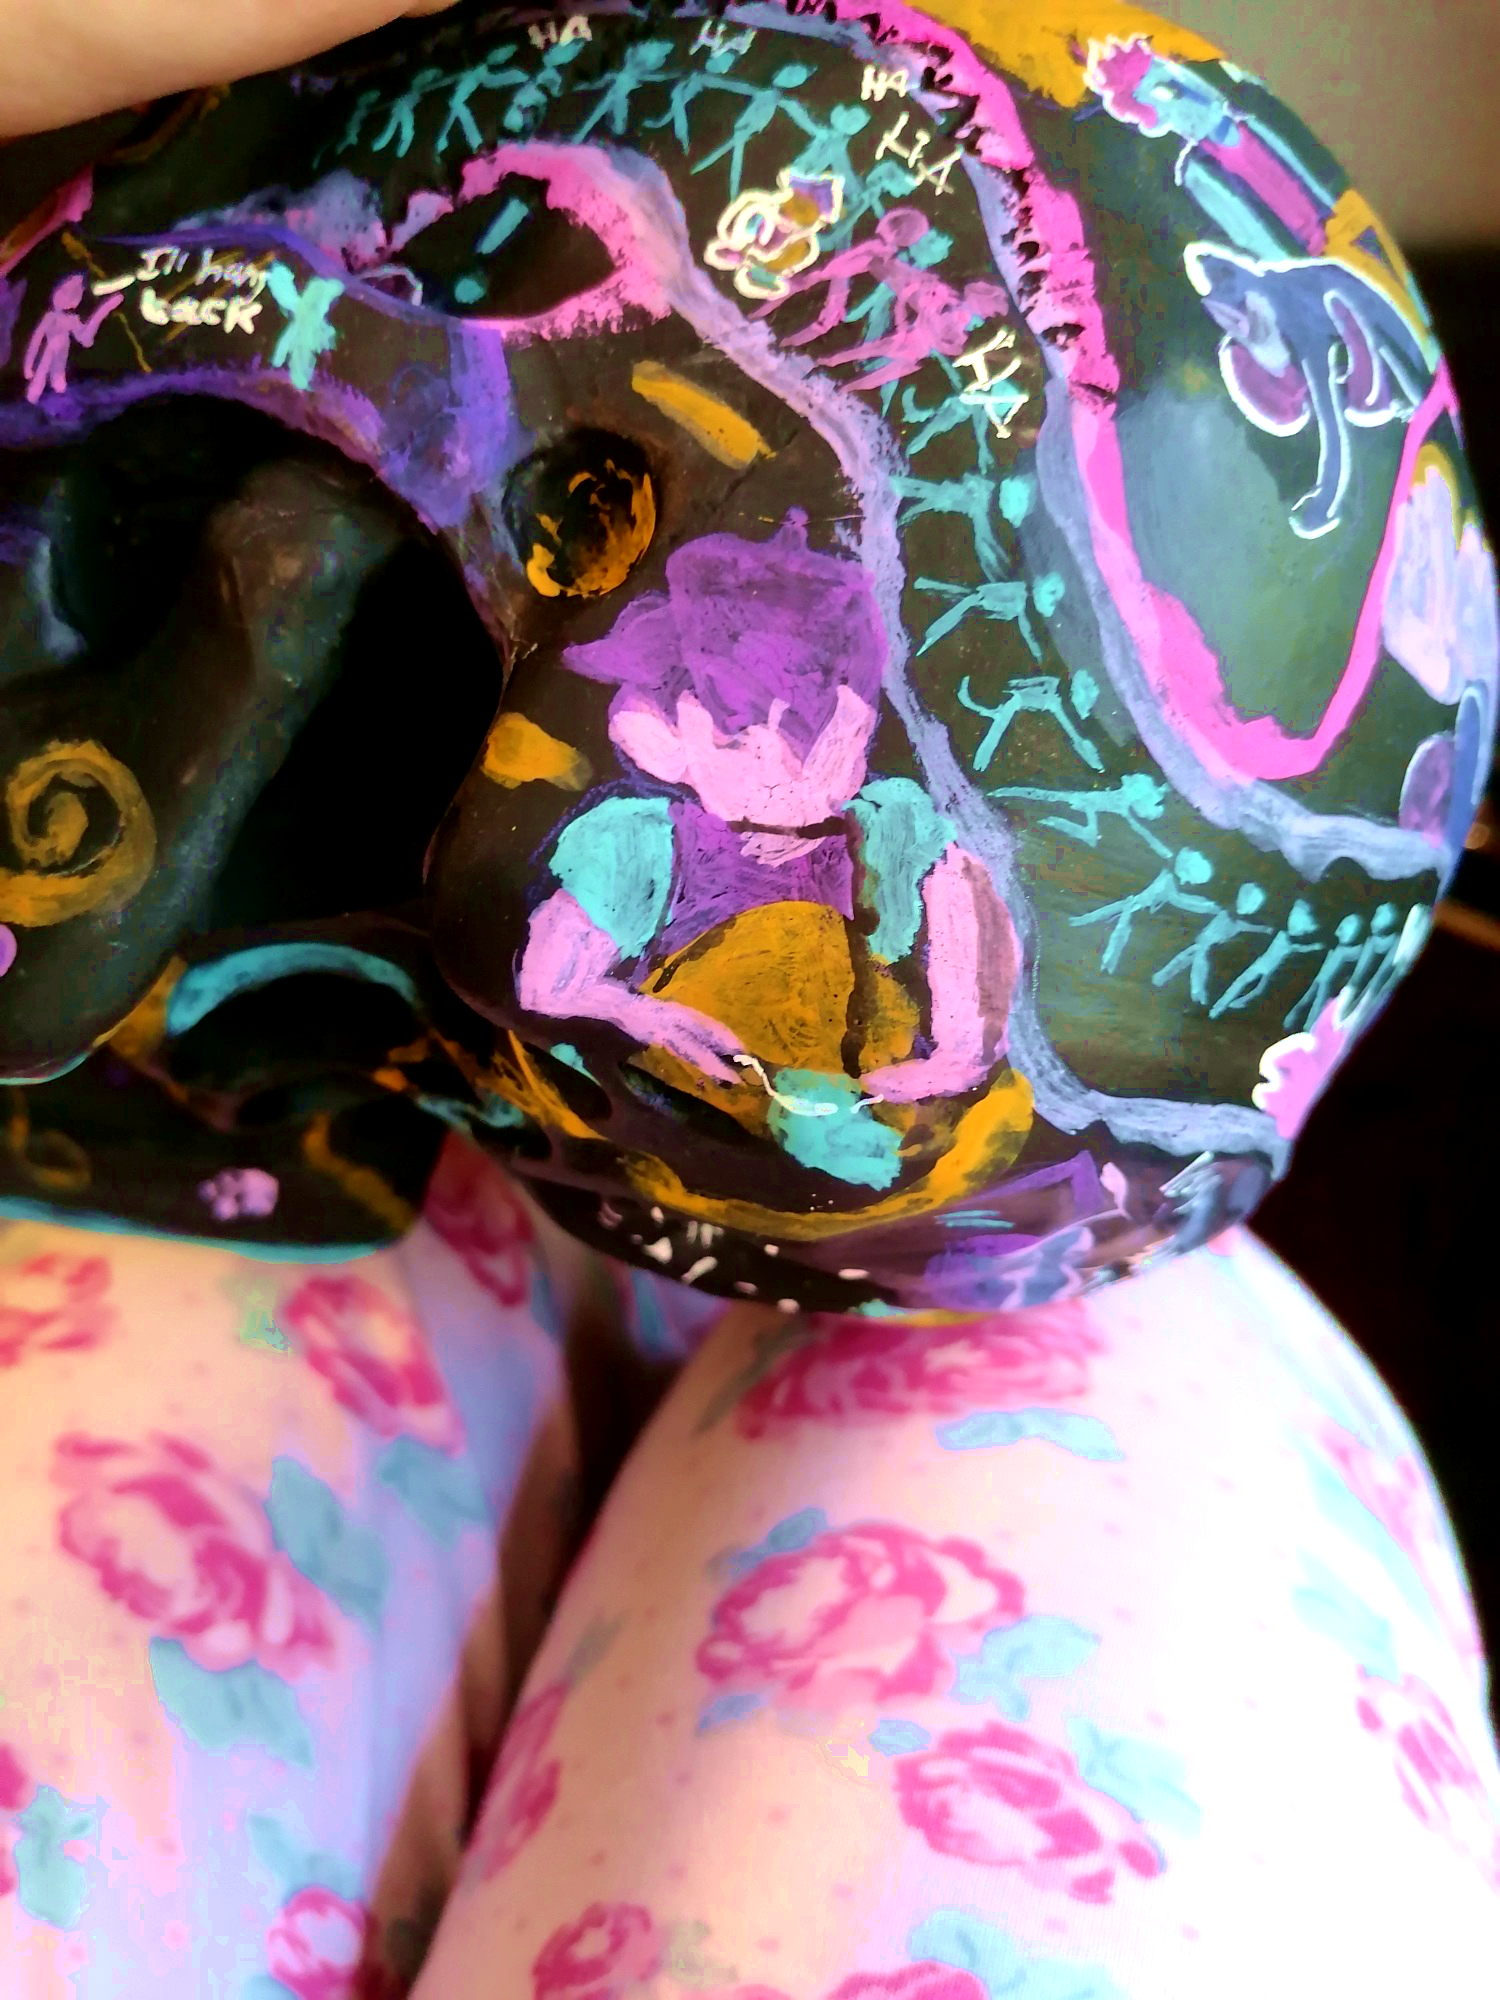
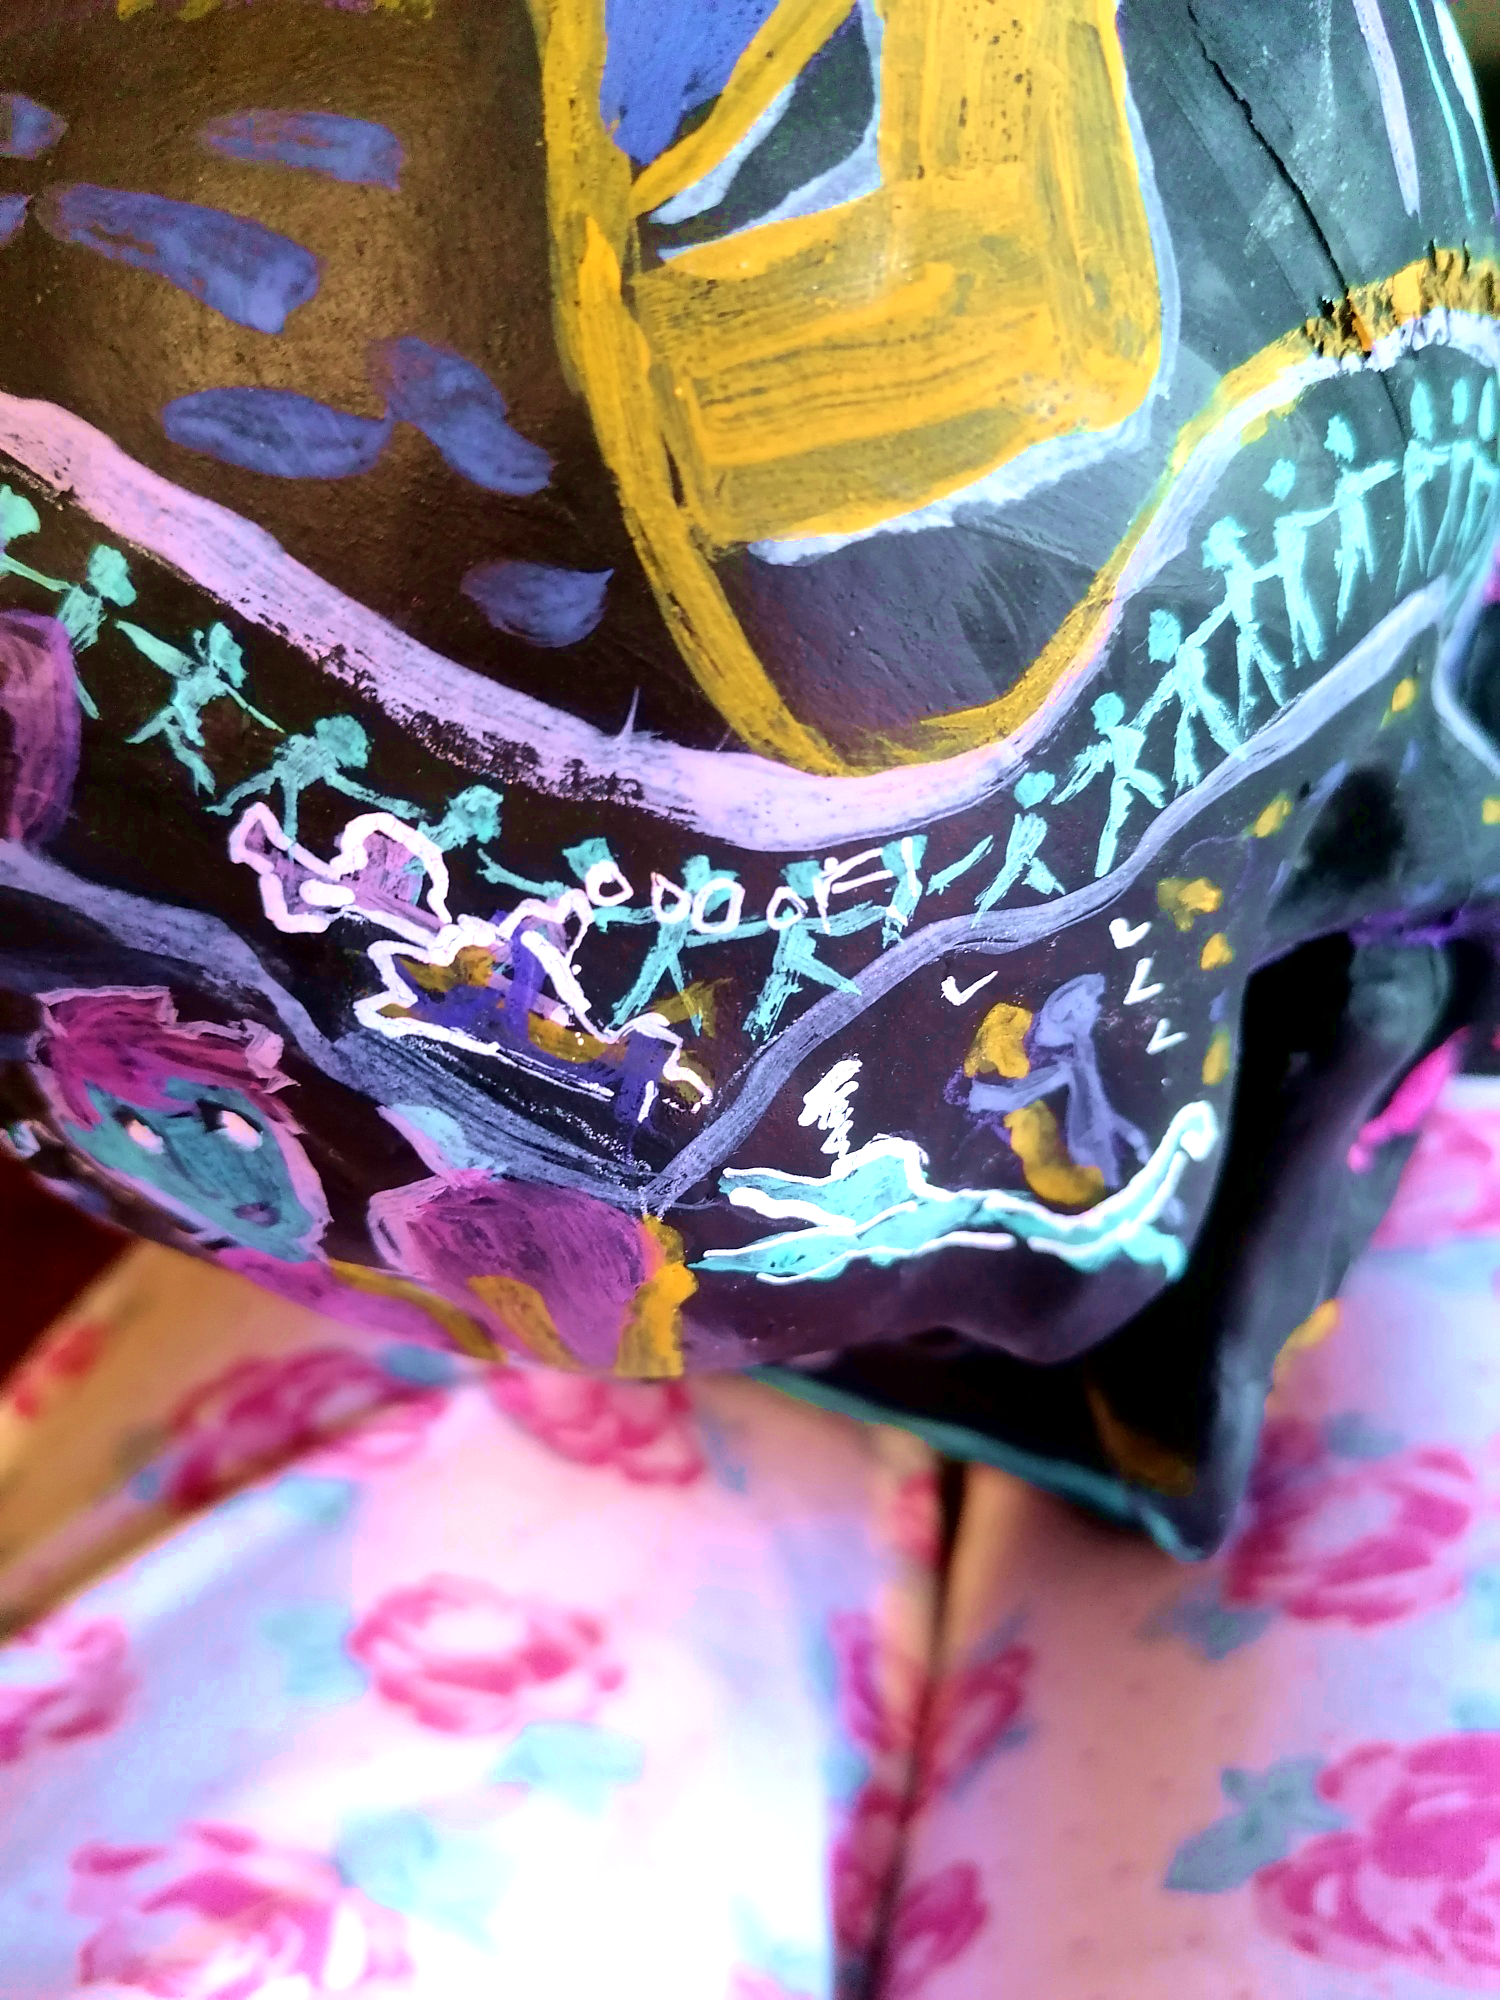
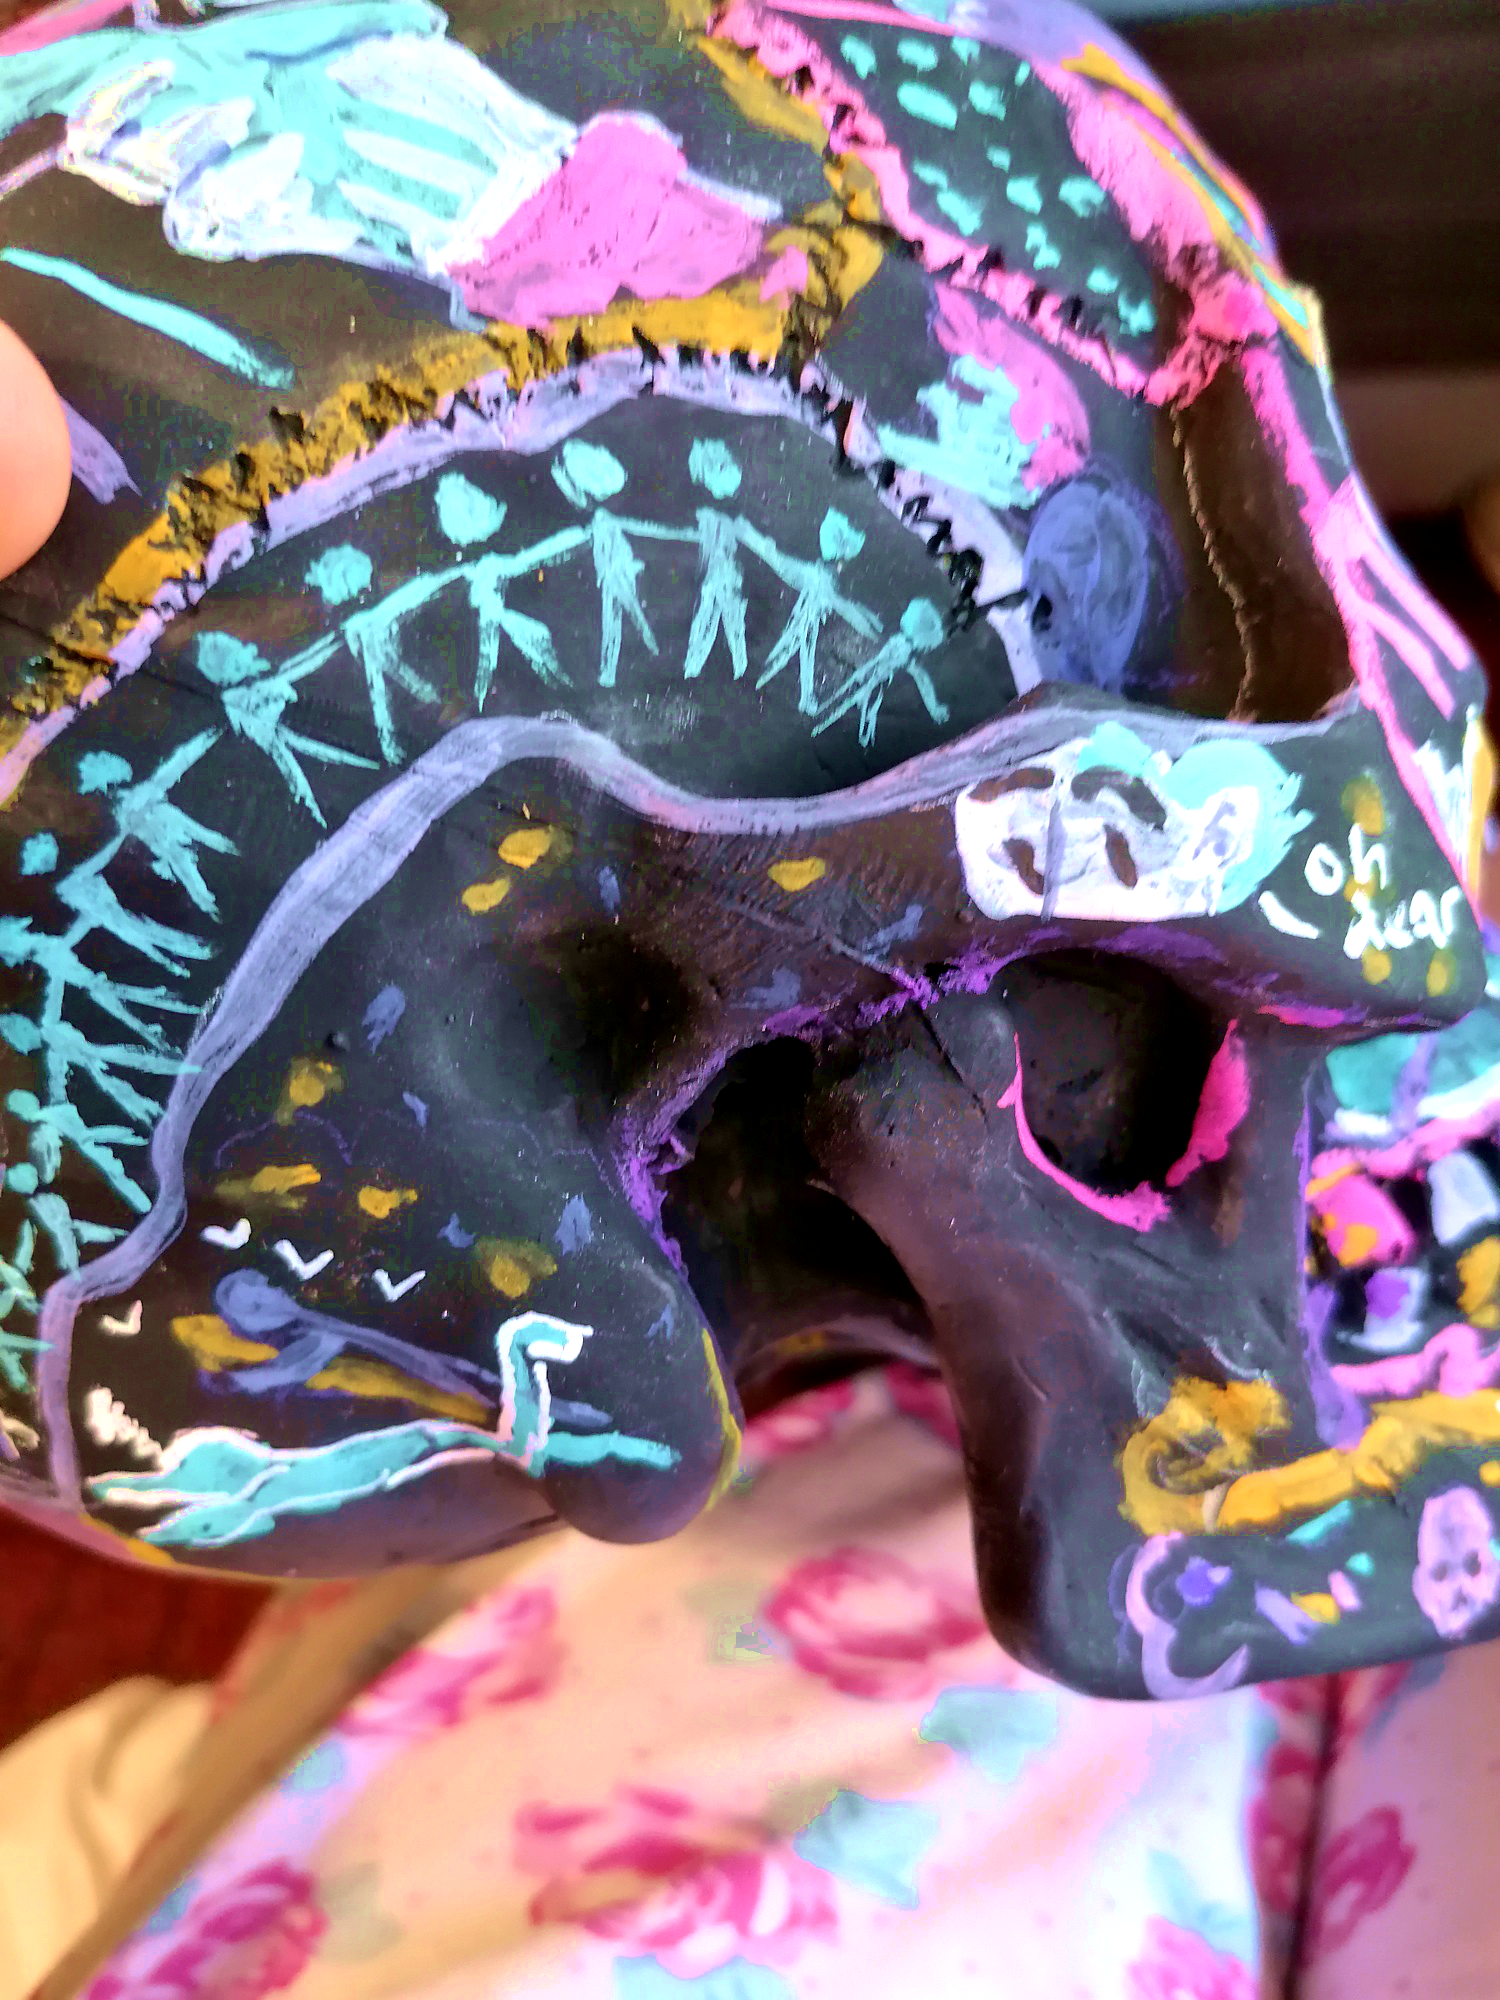
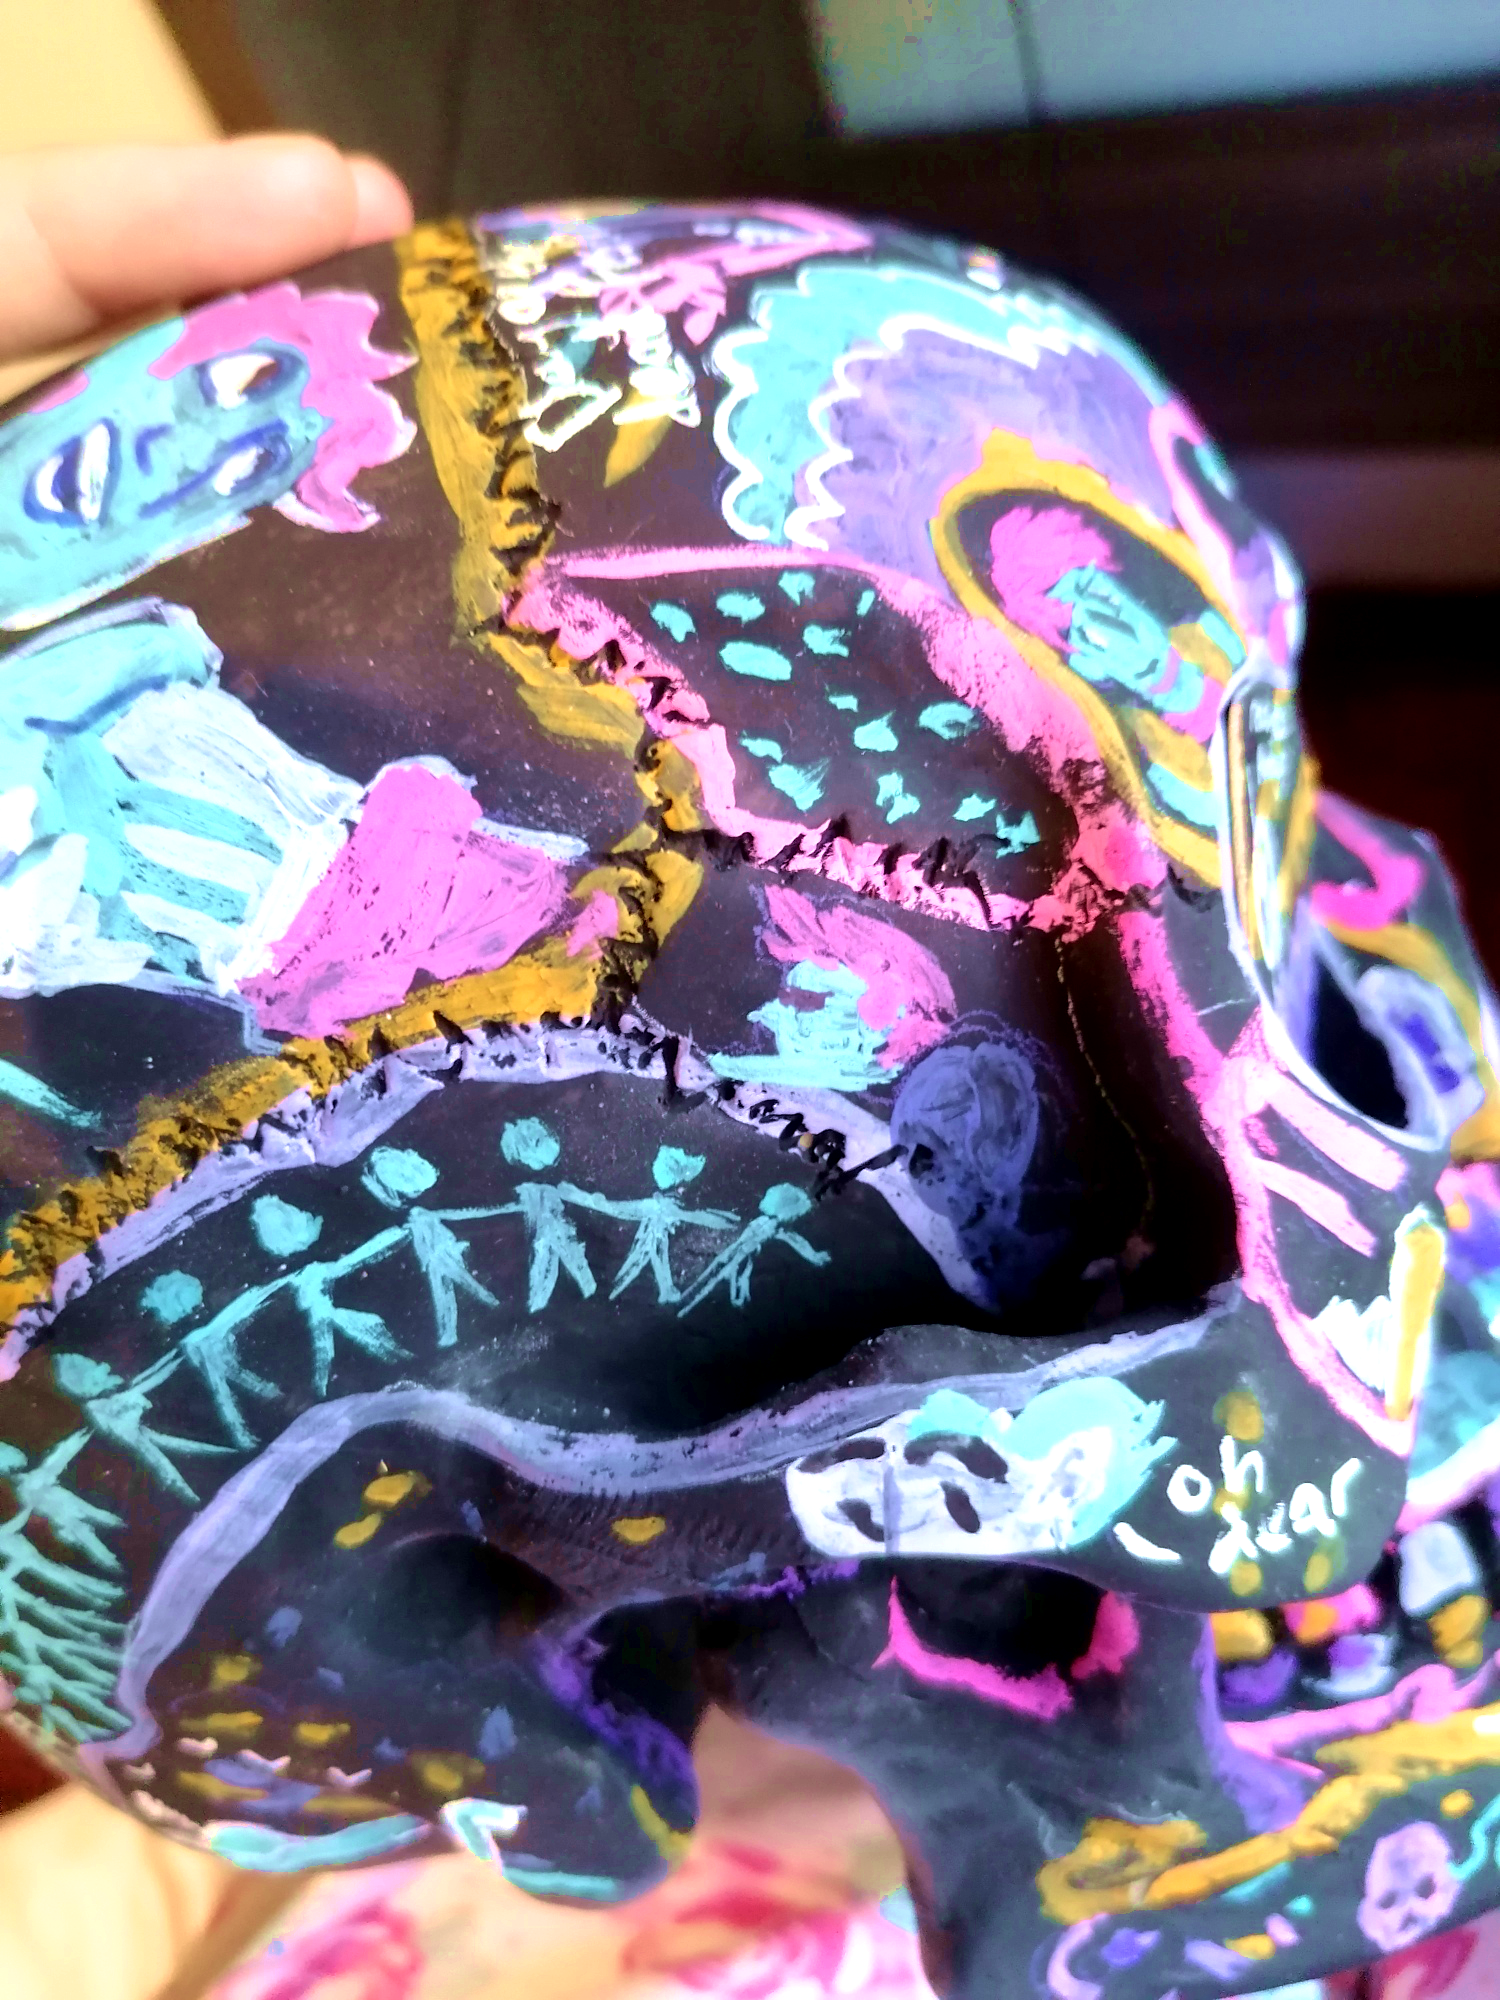
I like how simple this story is but with a lot of little visual details that would make for a great short comic. I worked it out into a small timeline and settled on an imitation of a sugar skull as the basis for my 3D comic since it would be very iconic and let me get in a lot of simple and bright colours. I also decided to have the colour scheme match the reference photos I was given.


Stage 2: Planning
The next step was to plan the comic and how I'd go about physically making it. As part of getting us ready for this project, we were taken to the Laser cutting works alongside the wood workshop and metal workshop. These were all interesting experiences and I'd like to use these facilities at some point but for the current project, I decided to use a slightly less involved method.
I decided on making a faux sugar skull and decided that it would be time-consuming to craft a skull with paper mache and expensive to do it in clay. Once it became pretty clear I also wouldn't have a lot of workshop access towards the end of term, I settled on painting an already made skull and found one with a good sculpt made from resin online which meant it could be painted with acrylic paints.
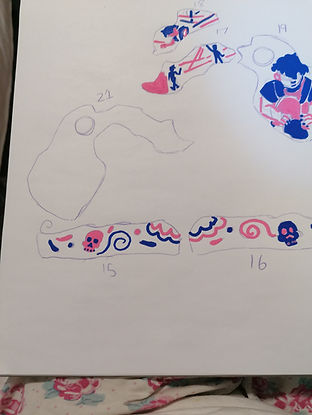
I made sure to get one large enough that the panels wouldn't be too crowded and used references to make some mock-ups of potential panel borders and to get a sense of colour scheme. Once that was done I marked on the skull where I wanted the panels to be and traced over them onto kitchen towel so I could cut out the shapes of the panels and transfer them into a sketchbook, this let me plan everything in real size before transferring it to the actual final piece.


Stage 3: Process


This final step is probably the simplest since once I had all my groundwork it was just a matter of actually making the item.
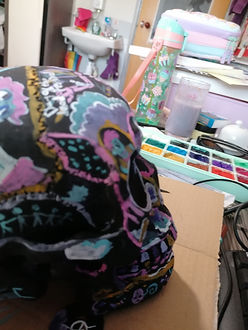
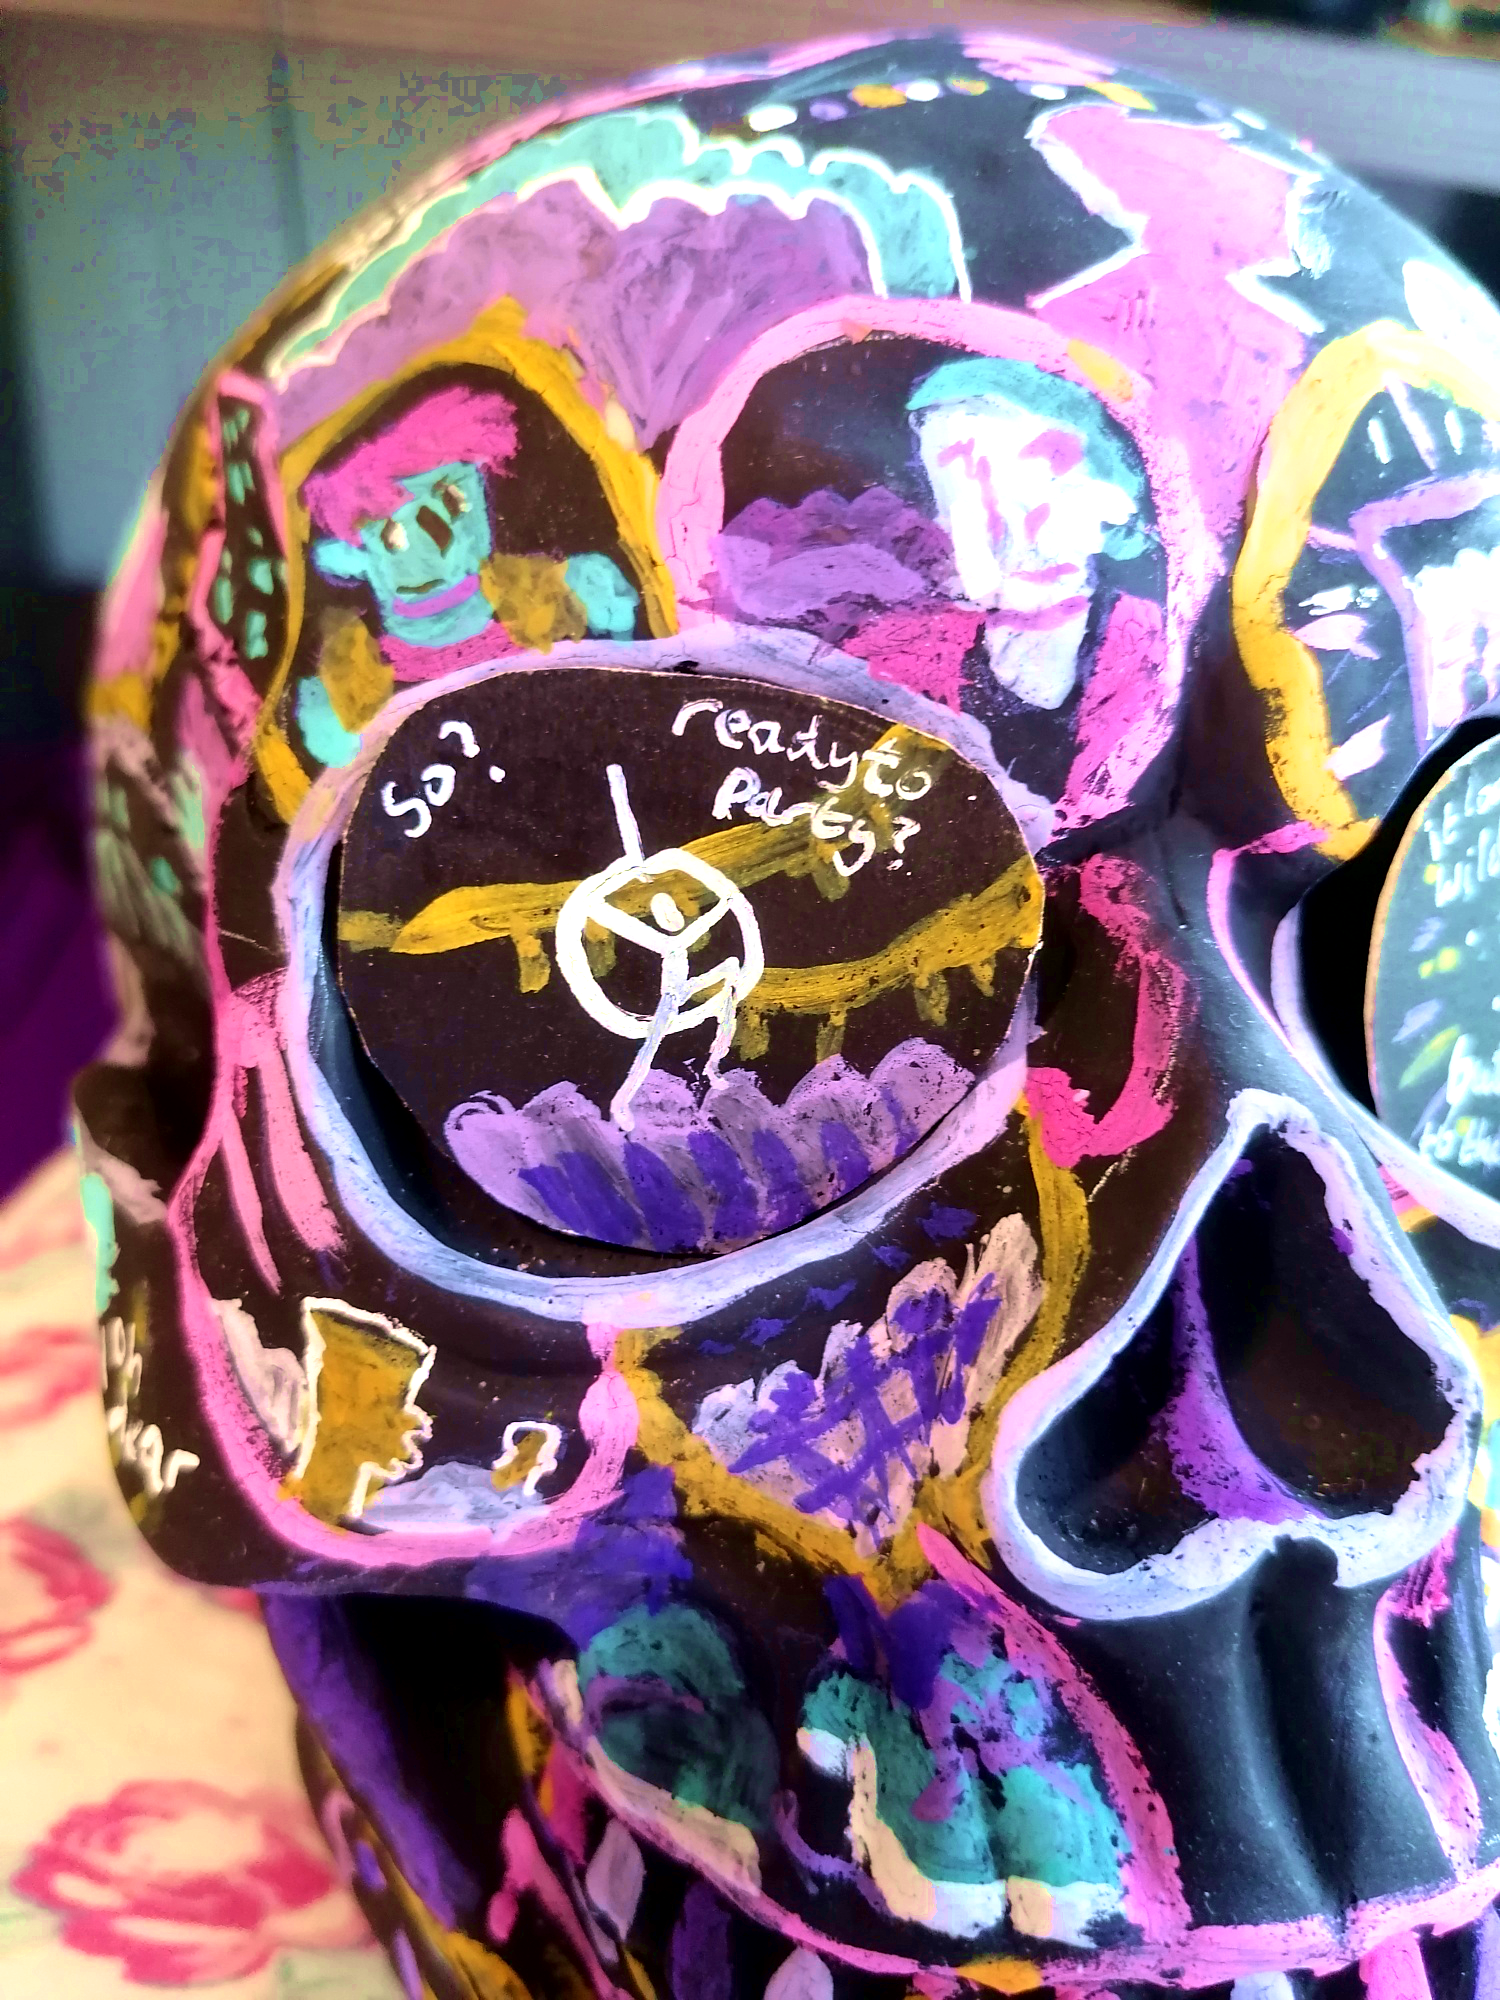
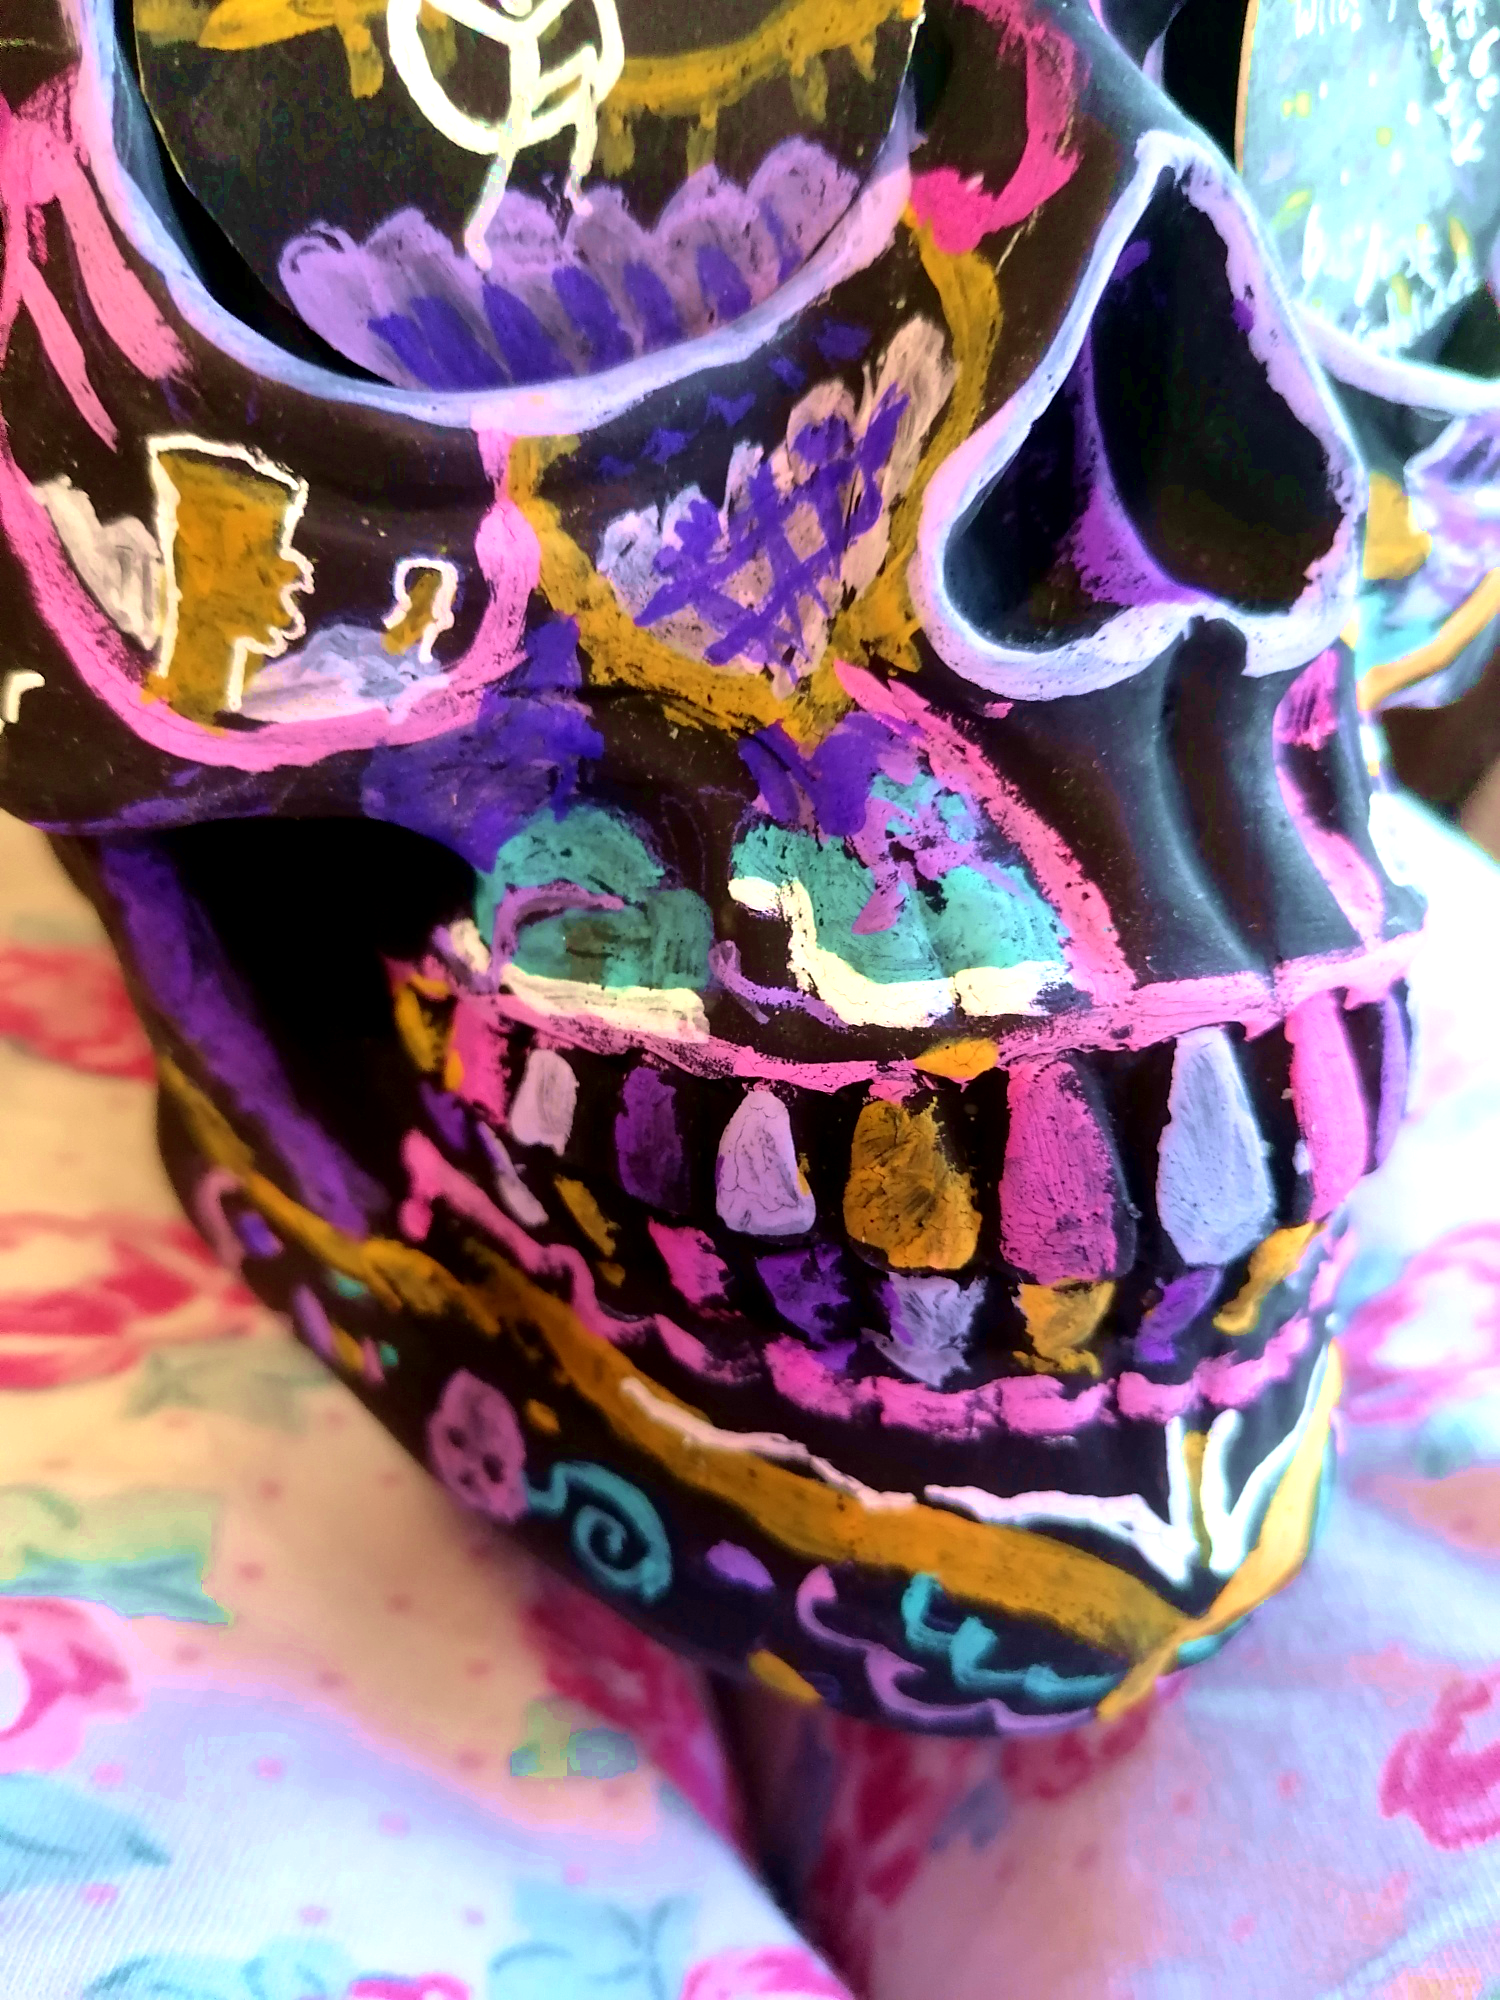
I started out with my marked skull and painted it with acrylic paint, it took a while to dry between coats and I took a few passes to make sure it was a nice matte black all over. I used a large brush to start and worked down to my smaller brushes as skulls have a lot of little nooks and crannies that are hard to get coated and the material the skull was made from was pretty slippery so one of my paints slid off it while the other tube I had was better at gripping the surface
It was a challenge to actually paint designs onto the skull. While outlining the panels in gouache paints, I found that the lines were rarely smooth and that I had to get the paint just the right level of liquid to make it make a mark on the surface. Another thing I found odd was that despite being acrylic and generally waterproof once dry, the black paint occasionally was mixing with the paint on my brush, this was probably something to do with the formula or maybe I should have sealed between coats with hairspray.


Stage 4: Final Comic


Fun fact: the lino print looked really bad on the first few attempts because the lines were to shallow so I actually washed off the lino and fixed up the problems and took another try at printing. I'm really happy I made the second attempt and I think this is a good example of why testing something before you make the final piece is a good idea if you have time